
Linux server security starts with hardening the basics: patching packages, reducing exposed services, tightening SSH, enforcing sane account controls, and monitoring for suspicious changes.
This Linux server hardening checklist pairs hands-on sysadmin commands with current context for cloud and VPS environments where a small missed setting can become a production incident.
Use the commands below with care. Test them on a staging server first, keep a working admin session open while changing SSH or firewall rules, and adapt each control to your distribution, hosting provider, and compliance requirements.
First, open a terminal session with an account that has administrator privileges. Prefer running individual commands with sudo instead of staying in a permanent root shell, so each privileged action is explicit and auditable.
Let’s get to it.
Update your package list and upgrade your OS
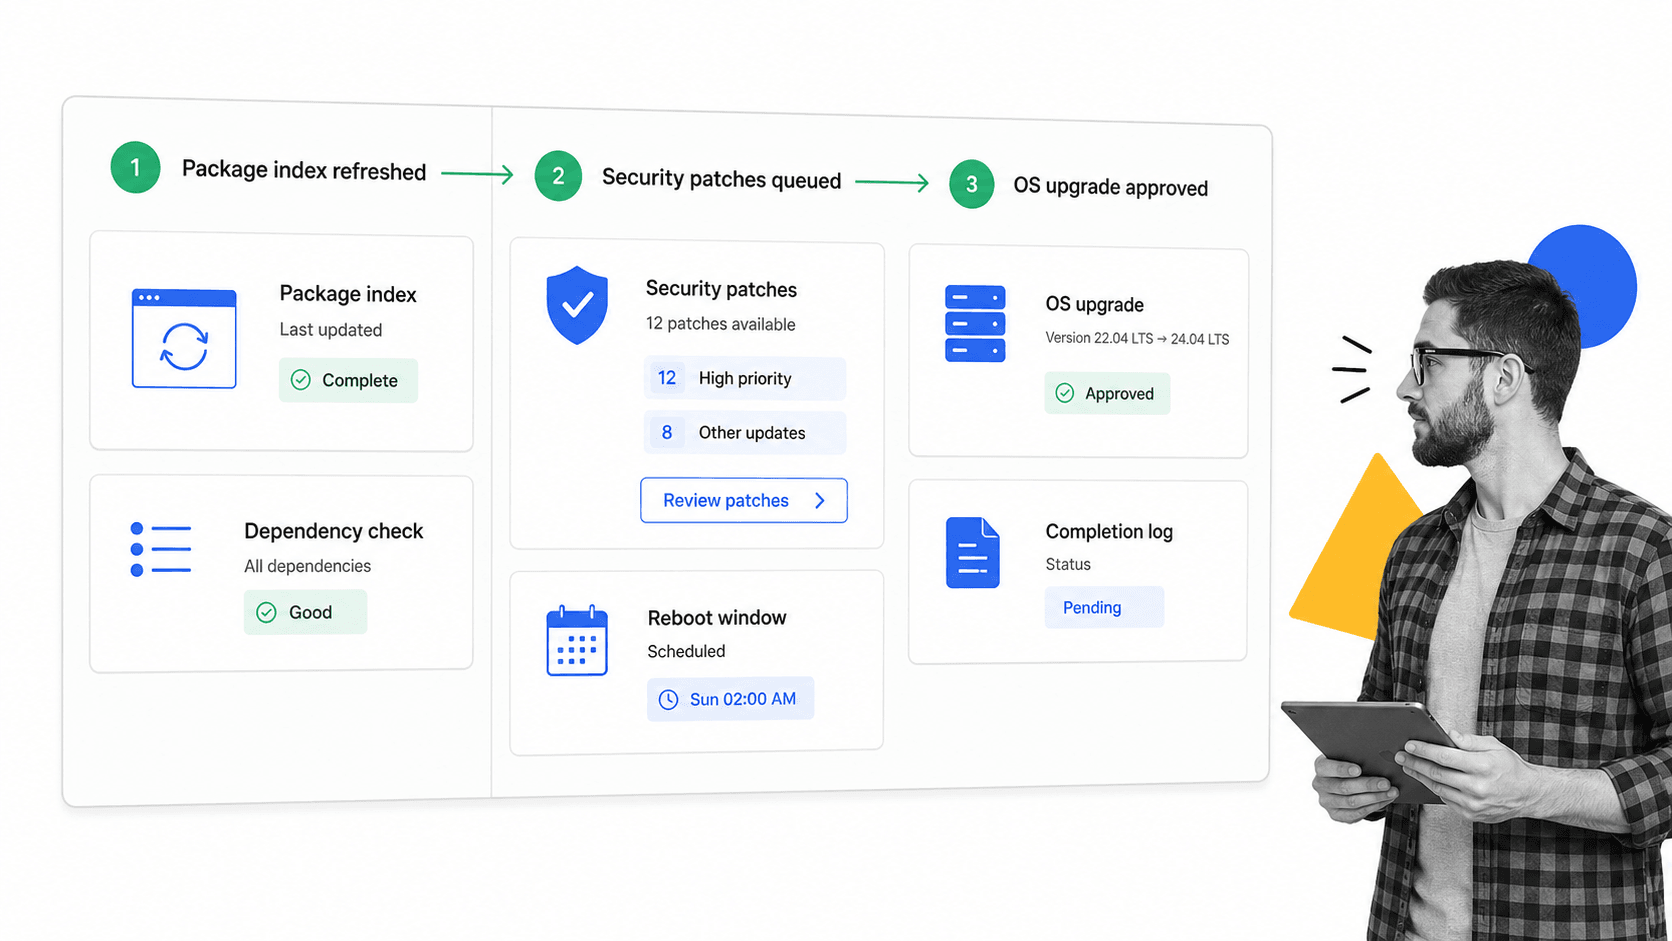
Software updates and patches are often distributed to fix security vulnerabilities as they’re discovered. Running outdated software puts you at risk as soon as the details of the vulnerability are published. For that reason, it’s vital to make sure your packages and OS are constantly updated and as secure as they can be.
To do this:
apt-get update && apt-get upgrade
The update part updates your package list, and the upgrade part actually downloads and installs them.
To do this periodically, you can install the unattended-upgrades package.
apt-get install unattended-upgrades
In the package’s config file, located at/etc/apt/apt.conf.d/50unattended-upgrades, you can enable or disable automatic updates for certain groups of packages. For example, you can just get security patches automatically by uncommenting "${distro_id}:${distro_codename}-security"; in the config file.
Remove unnecessary packages
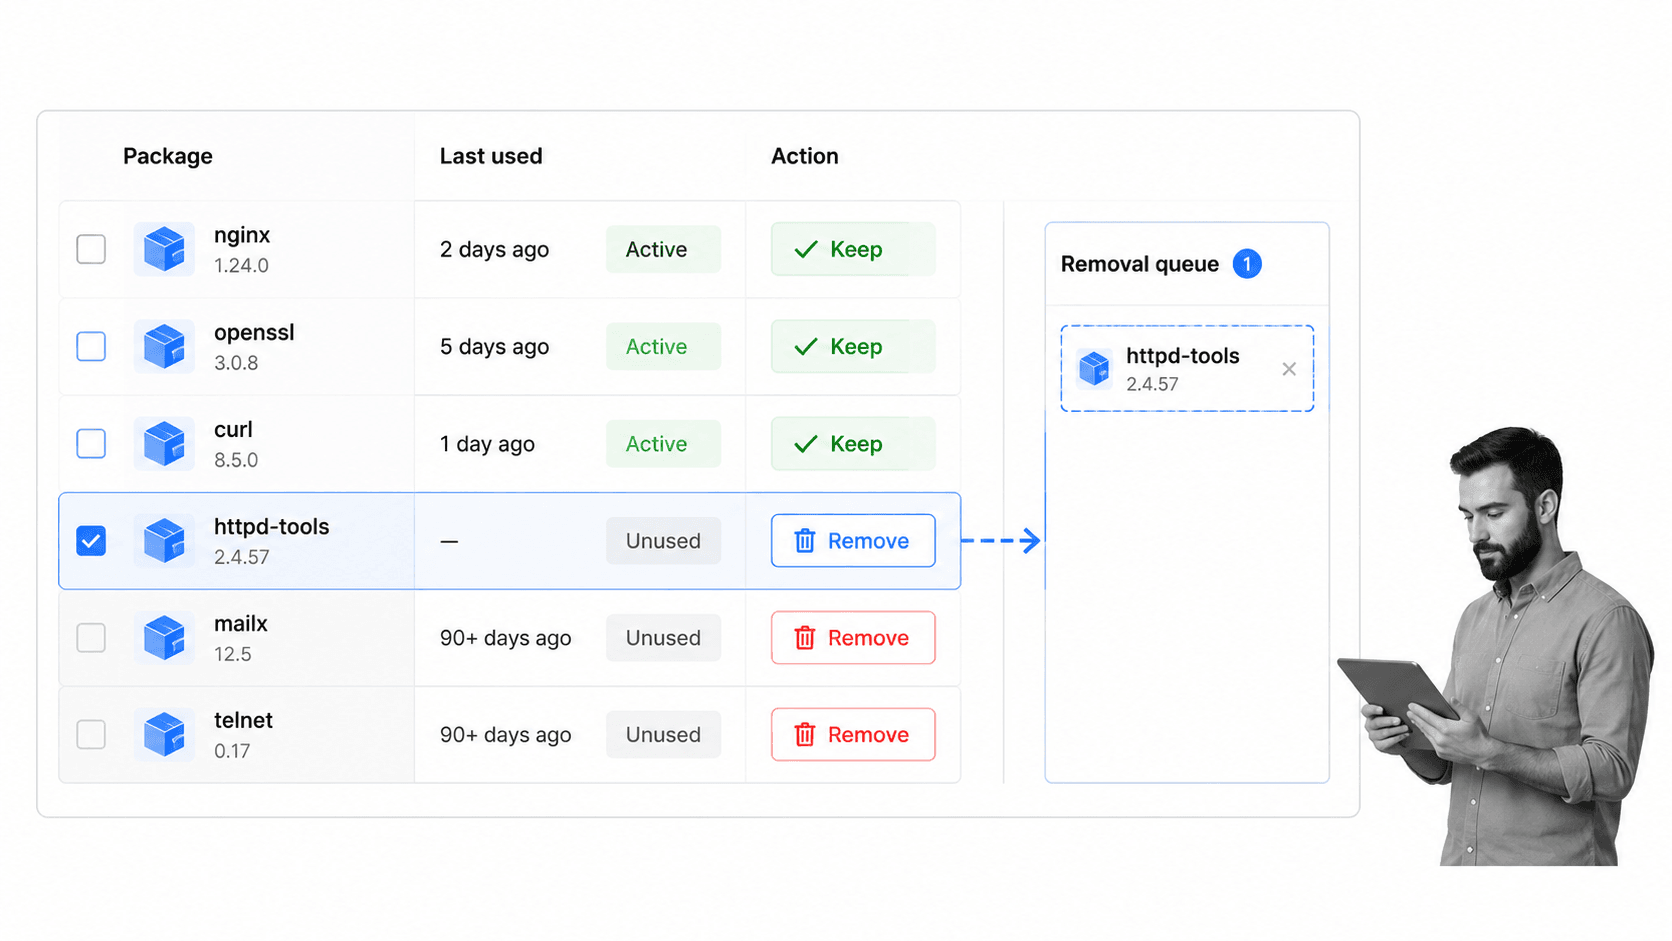
Packages that you don’t need are a useless security liability on your system. They’re one extra entry point for attacks that you can do without. To keep your server as lean as possible, you can either manually check through a list of packages and delete anything you don’t need, or use a tool that checks for you.
The manual method:
Do apt-get autoremove to remove any uninstalled packages. Next, check apt-cache pkgnames and delete anything you don’t need with
sudo apt-get purge --auto-remove [packagename]
The automatic method:
Install deborphan to automatically detect unused or orphaned packages.
Detect weak passwords with John the Ripper
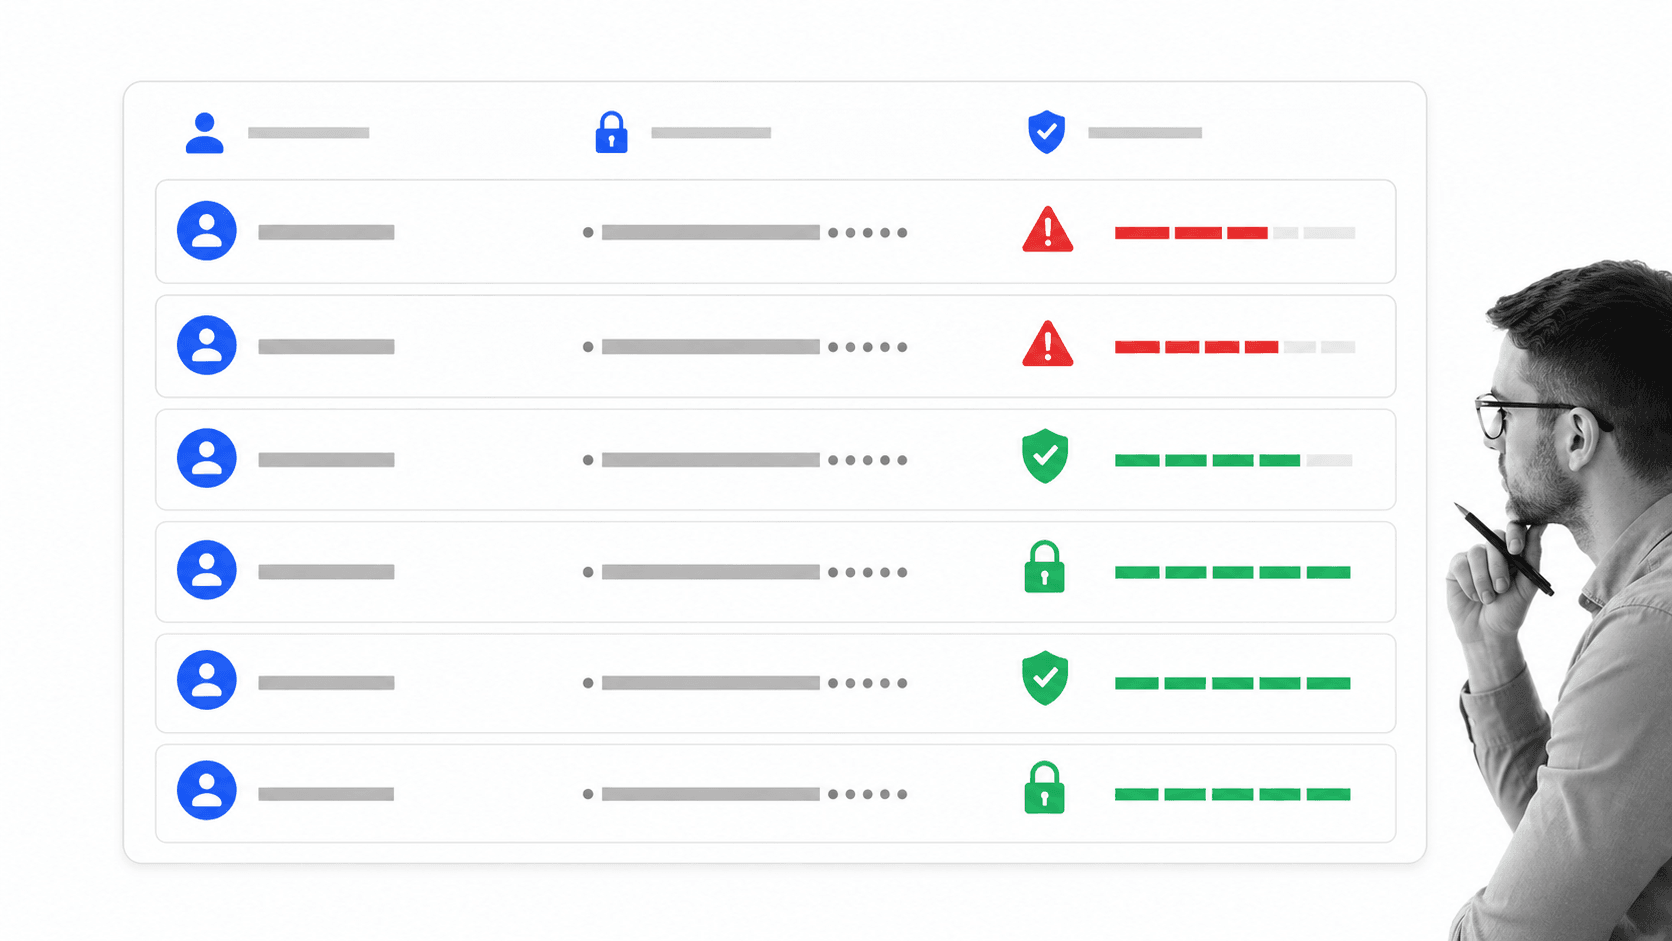
If you can easily manage to brute-force the passwords on your server, there’s a good chance a malicious user could do the same if they find a gap in your security defenses. To protect against this, you run a password cracking attempt on your own server to find easily guessed passwords.
First, install john: apt-get install john
Next, use John’s documented unshadow workflow to build a temporary local audit file from your account database, then run John against that temporary file. Keep that file locked down, remove it when the audit is complete, and review John’s output for weak passwords that need immediate remediation.
Verify no accounts have empty passwords
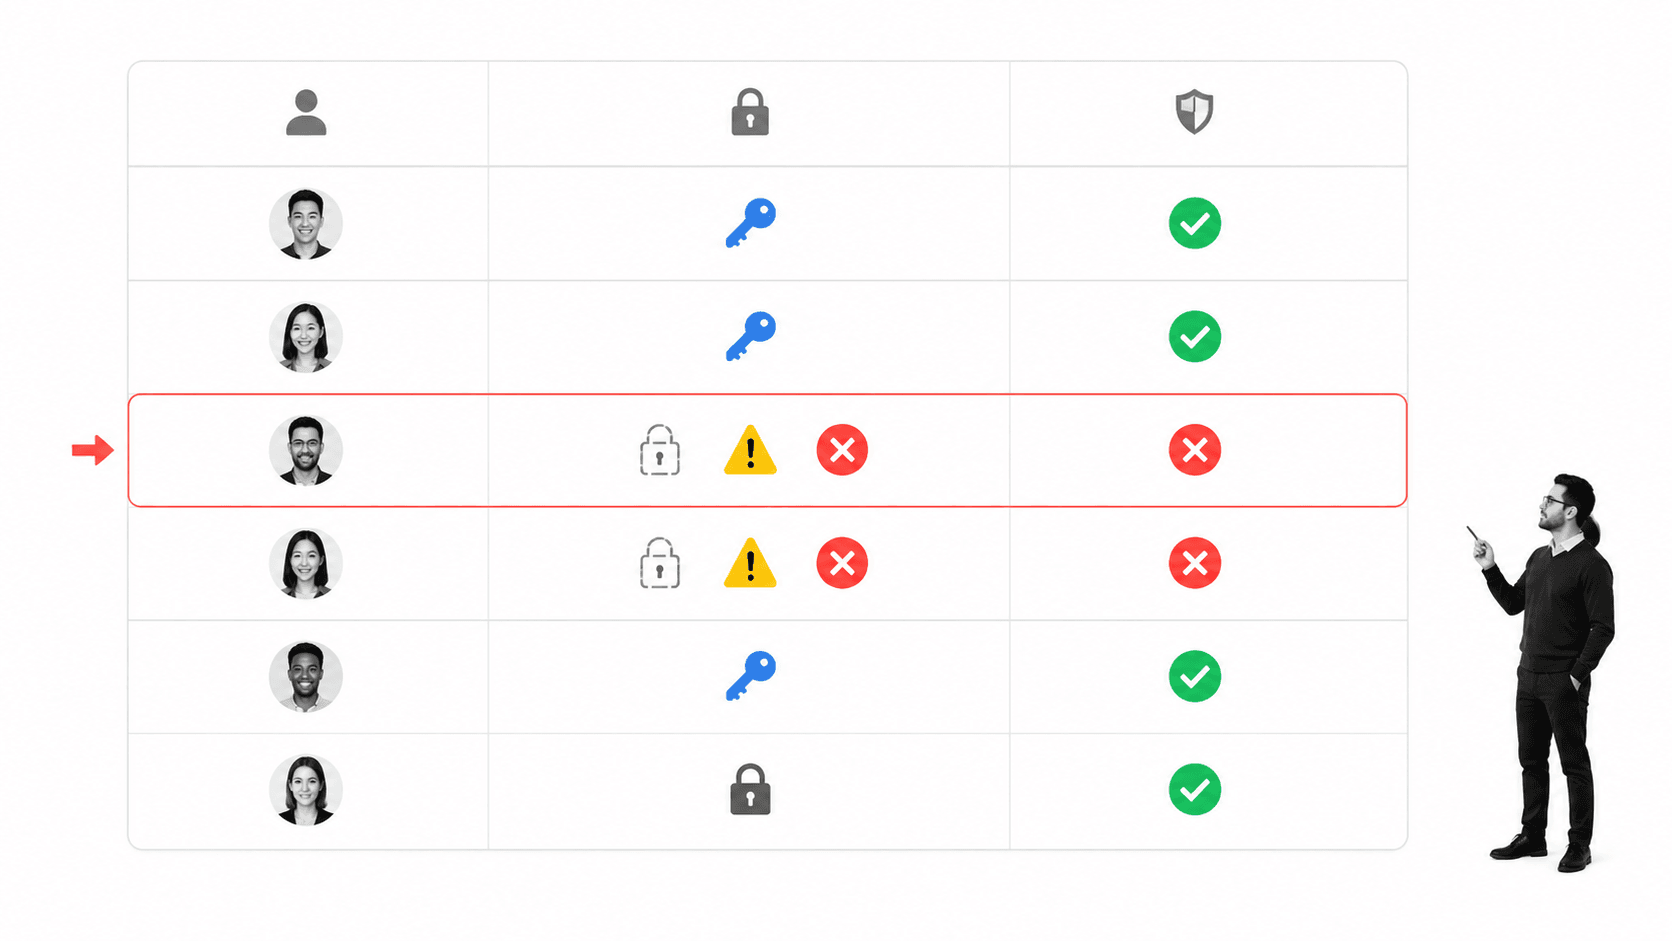
Accounts without passwords are vulnerable because the only thing a hacker that slipped through your defenses would need to do is key ‘enter’ along with the username, and they’d be in.
Empty passwords are easy to detect with a local account audit that checks whether the encrypted password field is blank. Run that check from a privileged session, review any returned usernames, and assign strong credentials or lock the account immediately.
To prevent this from happening again, you should set password rules for users.
Set password rules
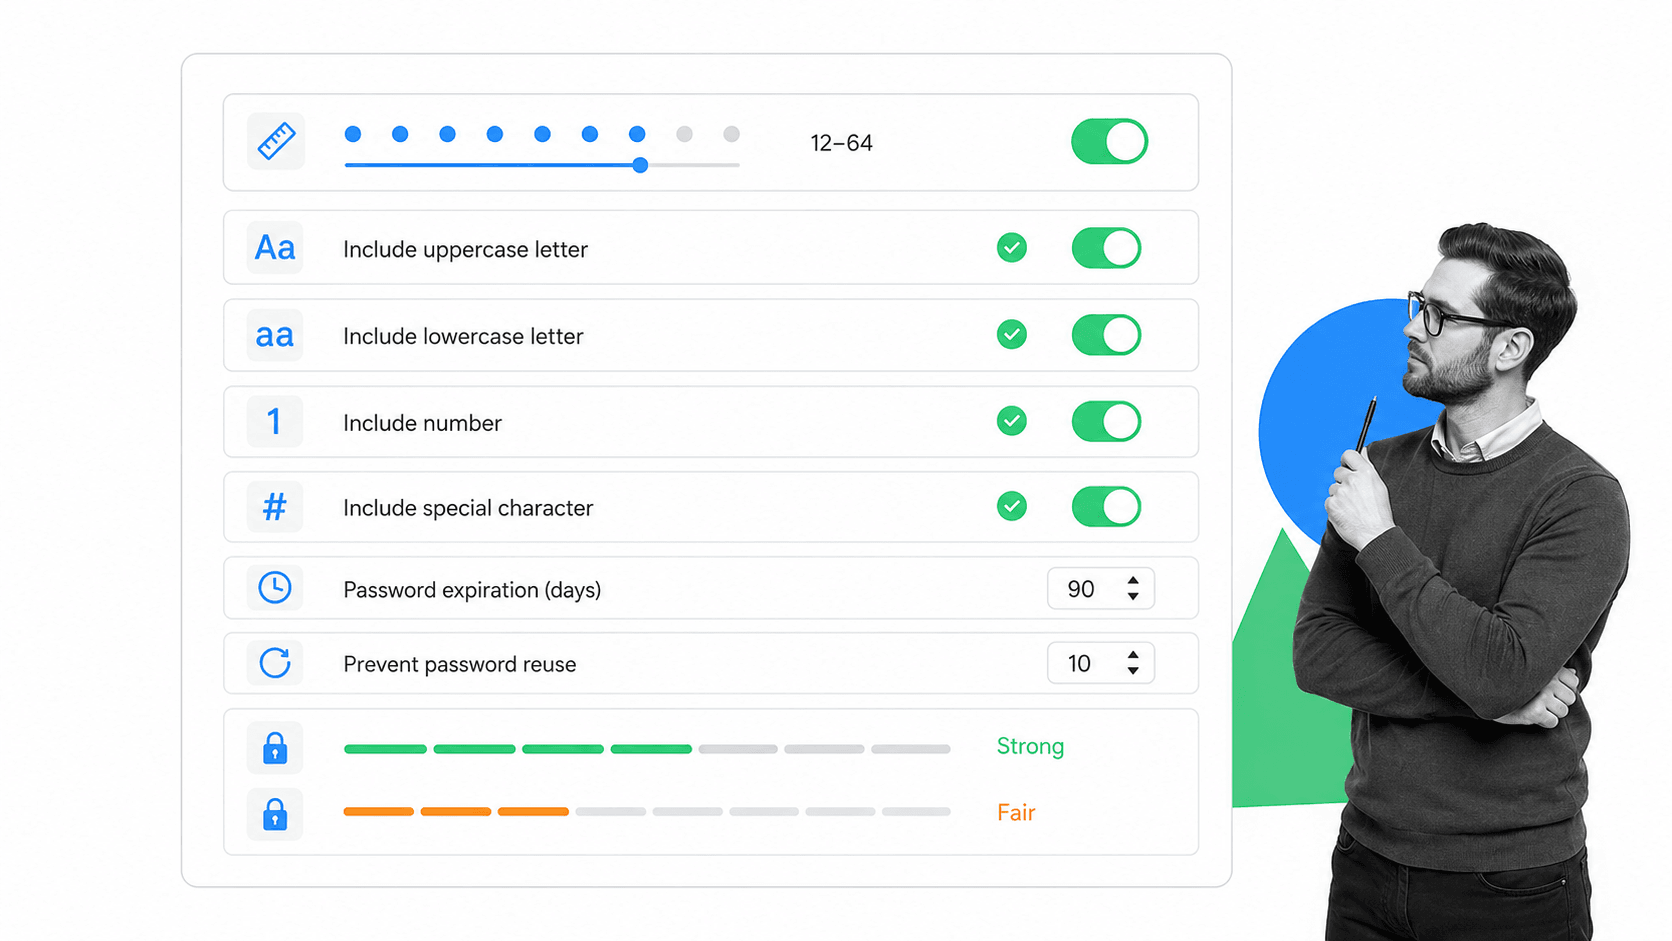
Allowing users to set passwords like “password” or “1234” is a hazard, and you want to make sure you have control over the passwords users set by enforcing rules.
The password rules configuration is usually managed through your distribution’s PAM password-quality module. On many Debian and Ubuntu systems, that means configuring pam_pwquality in the common password policy. Use your distribution’s current module documentation before applying changes. To break the typical policy controls down:
minlengthsets the minimum amount of characters a user must use in their passwordslcredit,ucredit,dcredit, andocreditrefer to the minimum number of lowercase, uppercase, digit, and other characters respectivelydifoksets the number of characters that must be different between a new password and a previous.
Set password expiration in login.defs
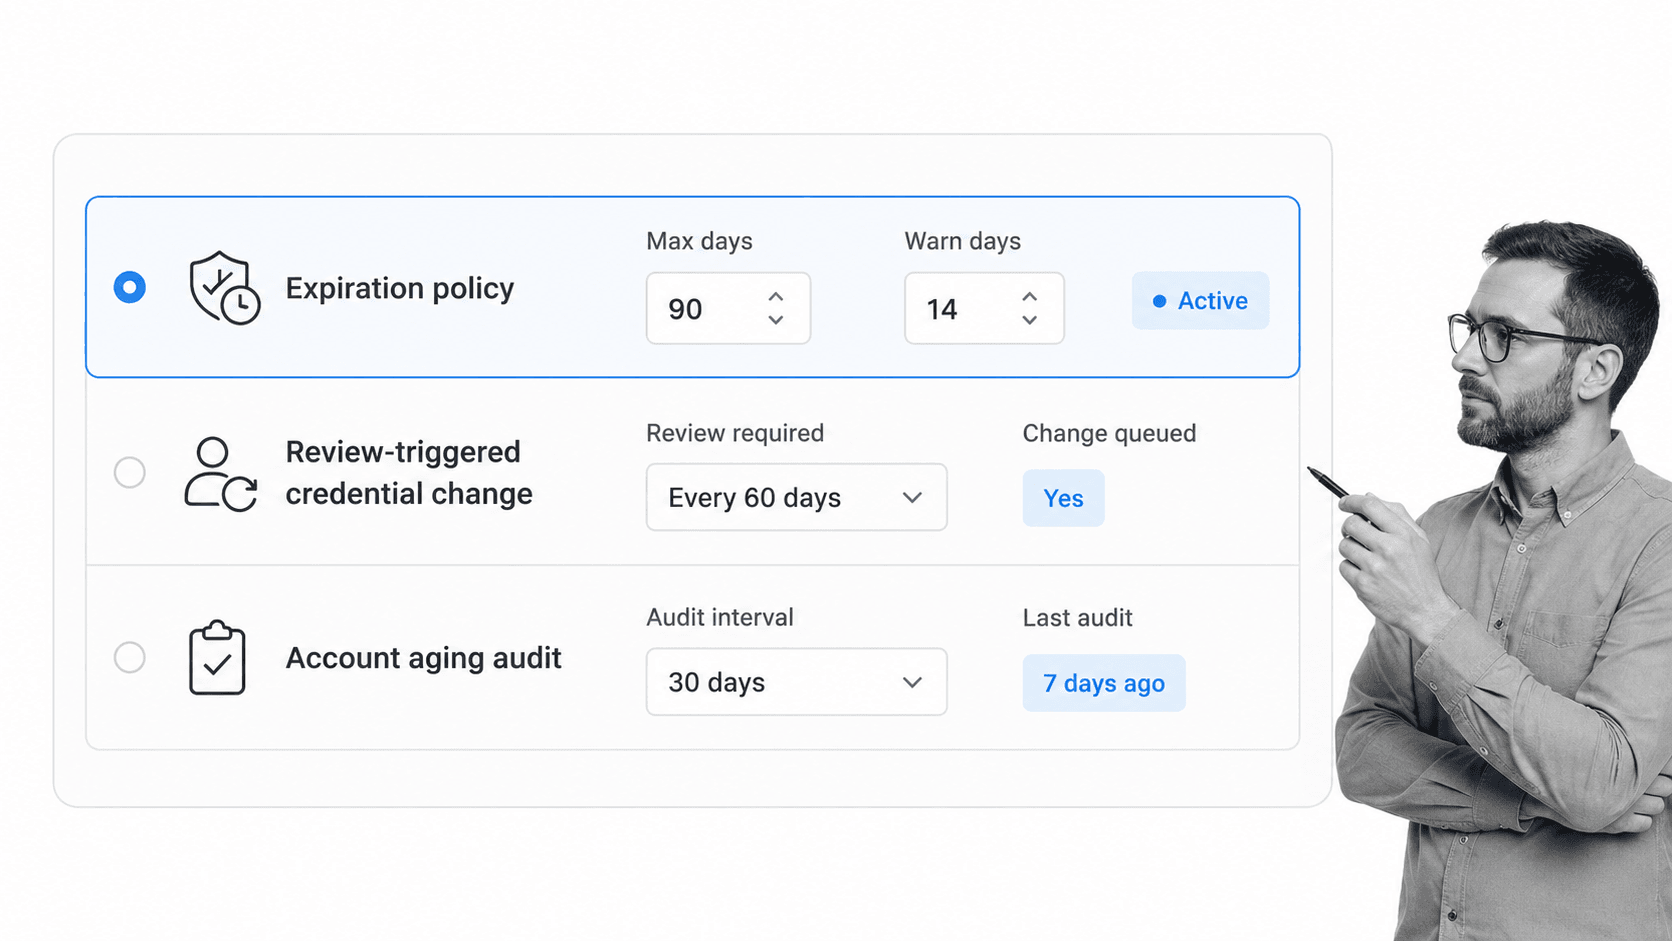
To ensure your users are regularly setting strong, unique passwords, now make sure to configure how often passwords expire.
The login.defs file , /etc/login.defs, is where a big chunk of the password configuration rules live. Open it in a text editor, and look for the password aging control line. You’ll see three parameters:
PASS_MAX_DAYS: Maximum number of days a password may be used. If the password is older than this, a password change will be forced.PASS_MIN_DAYS: Minimum number of days allowed between password changes. Any password changes attempted sooner than this will be rejectedPASS_WARN_AGE: Number of days warning given before a password expires. A zero means warning is given only upon the day of expiration, a negative value means no warning is given. If not specified, no warning will be provided.
It is recommended that password changes should be enforced at least every 90 days because if old backups are lost or misfiled you wouldn’t want the password file data on them to be still valid and able to be used to get into your server.
Disable USB devices (for headless servers)
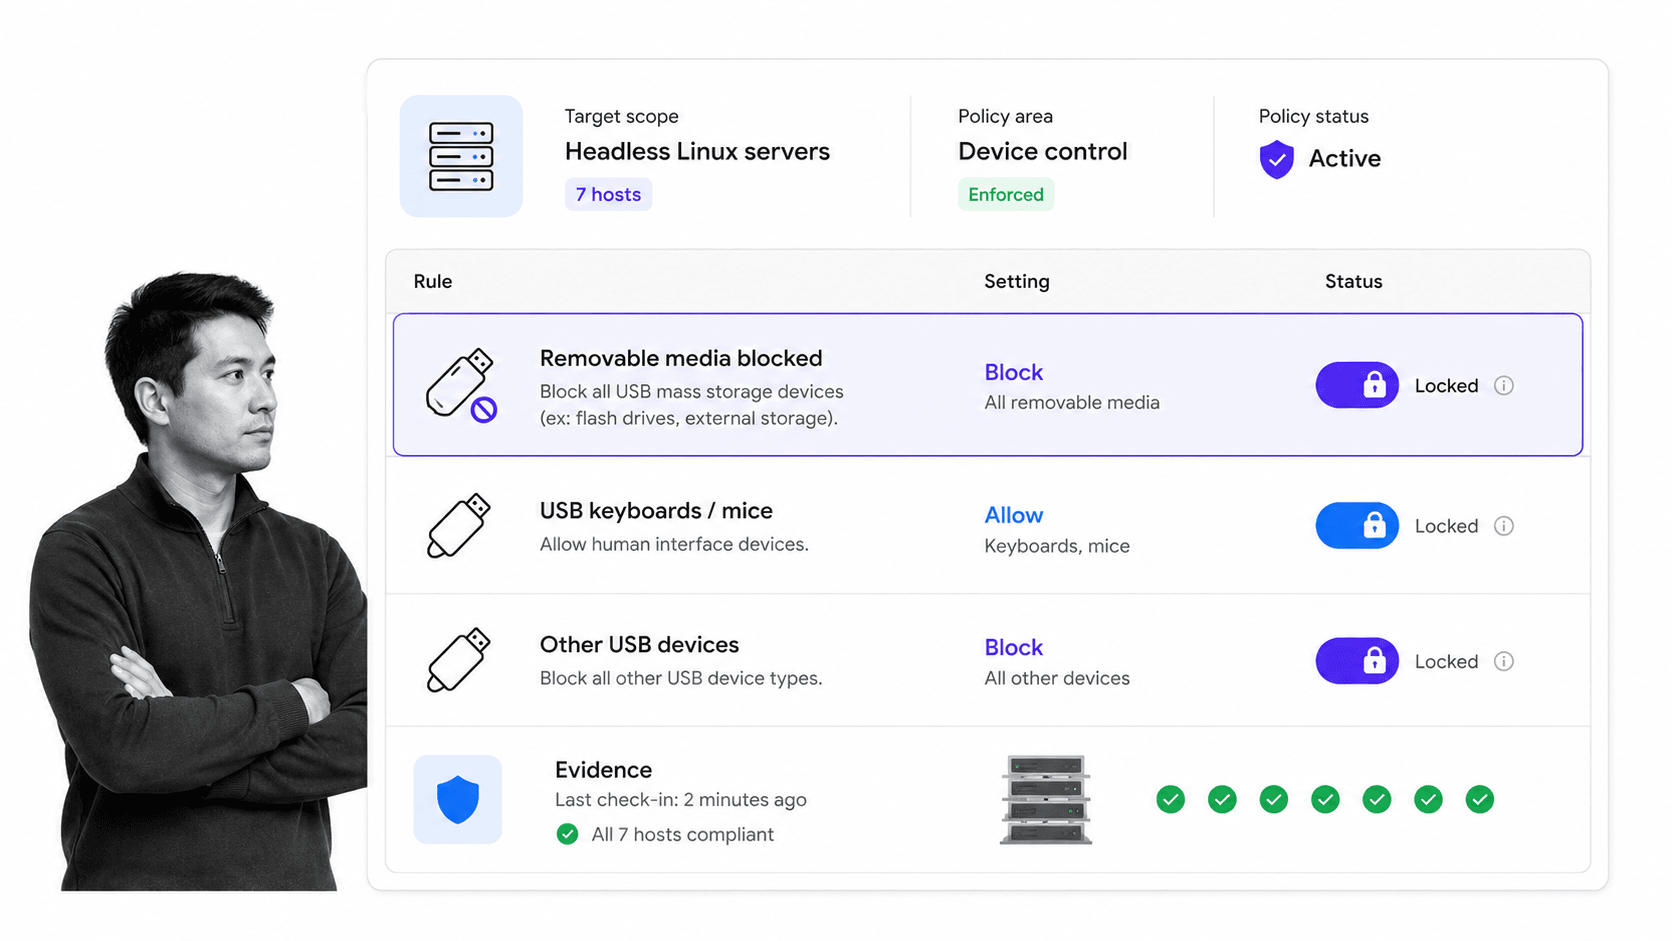
You want to avoid someone wandering up to your server and loading malicious files or transferring data, especially if you don’t actually use the USB ports on your server. To do this, open up /etc/modprobe.d/block_usb.conf and add the following line:
install usb-storage /bin/true
This makes your server unable to recognize anything plugged into its USB ports which makes it harder to breach if an attacker gains physical access.
Check which services are started at boot time
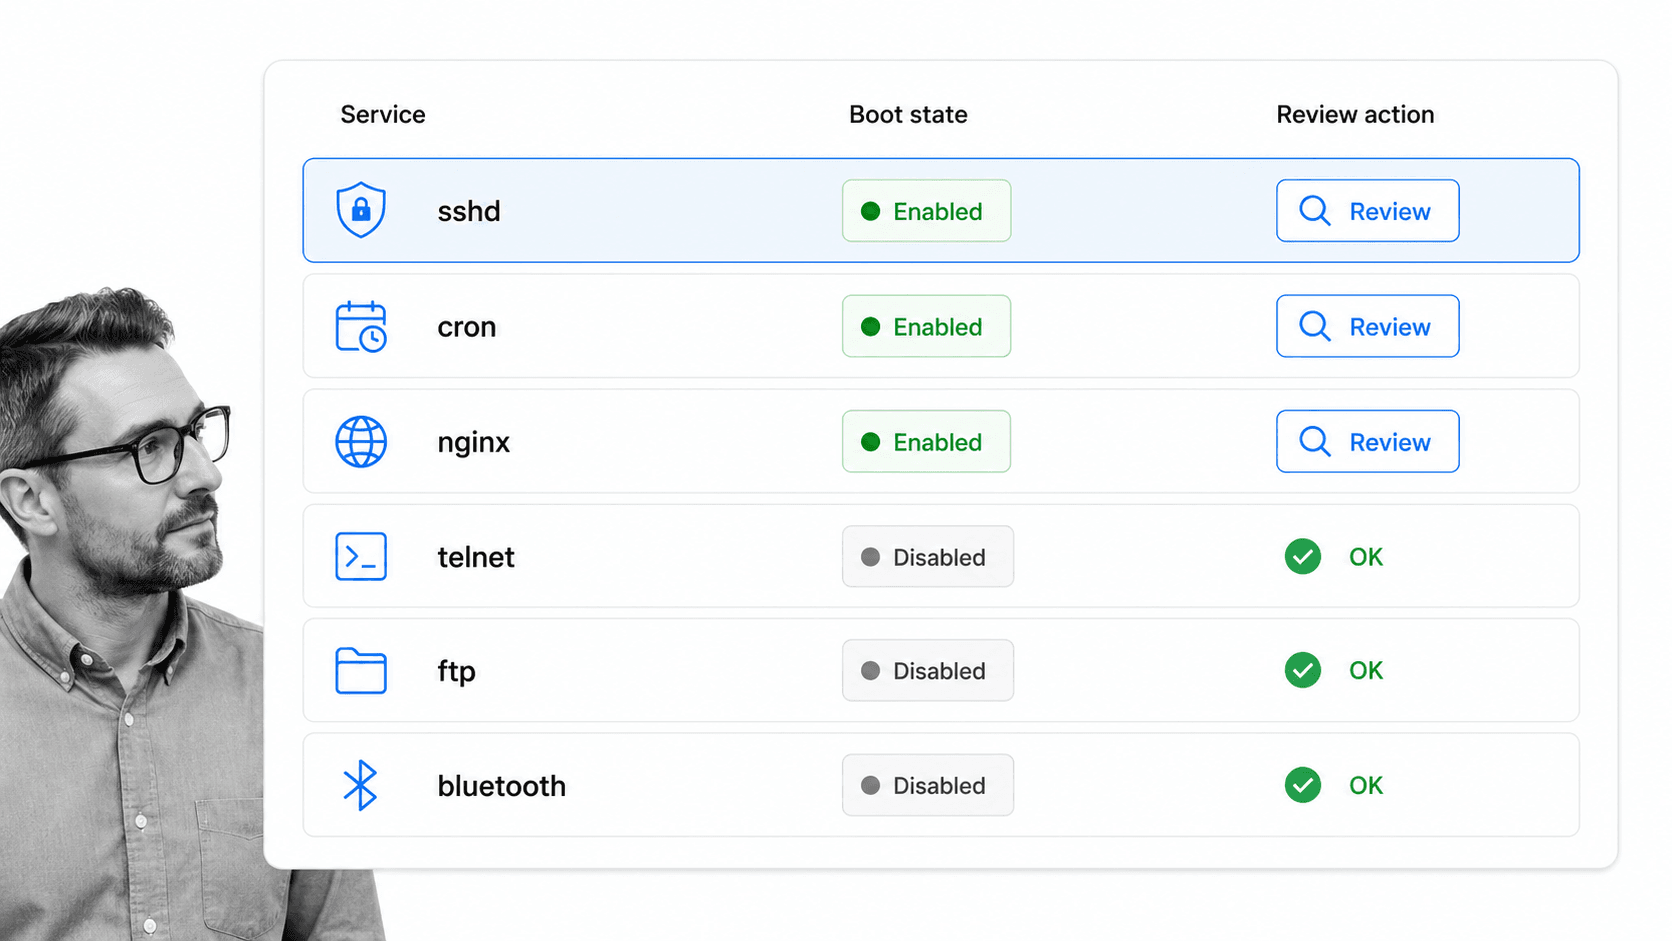
Until you check, you can’t be sure that you don’t have malicious services starting at boot time and running in the background. This is easy to fix by installing sysv-rc-conf:
apt-get install sysv-rc-conf
Check which services are started at boot time by inputting the following in a terminal:
sysv-rc-conf --list | grep '3:on'
This will highlight the names of every service that starts at boot time.
Now, you can disable a service by typing: systemctl disable <service>
Detect all world-writable files
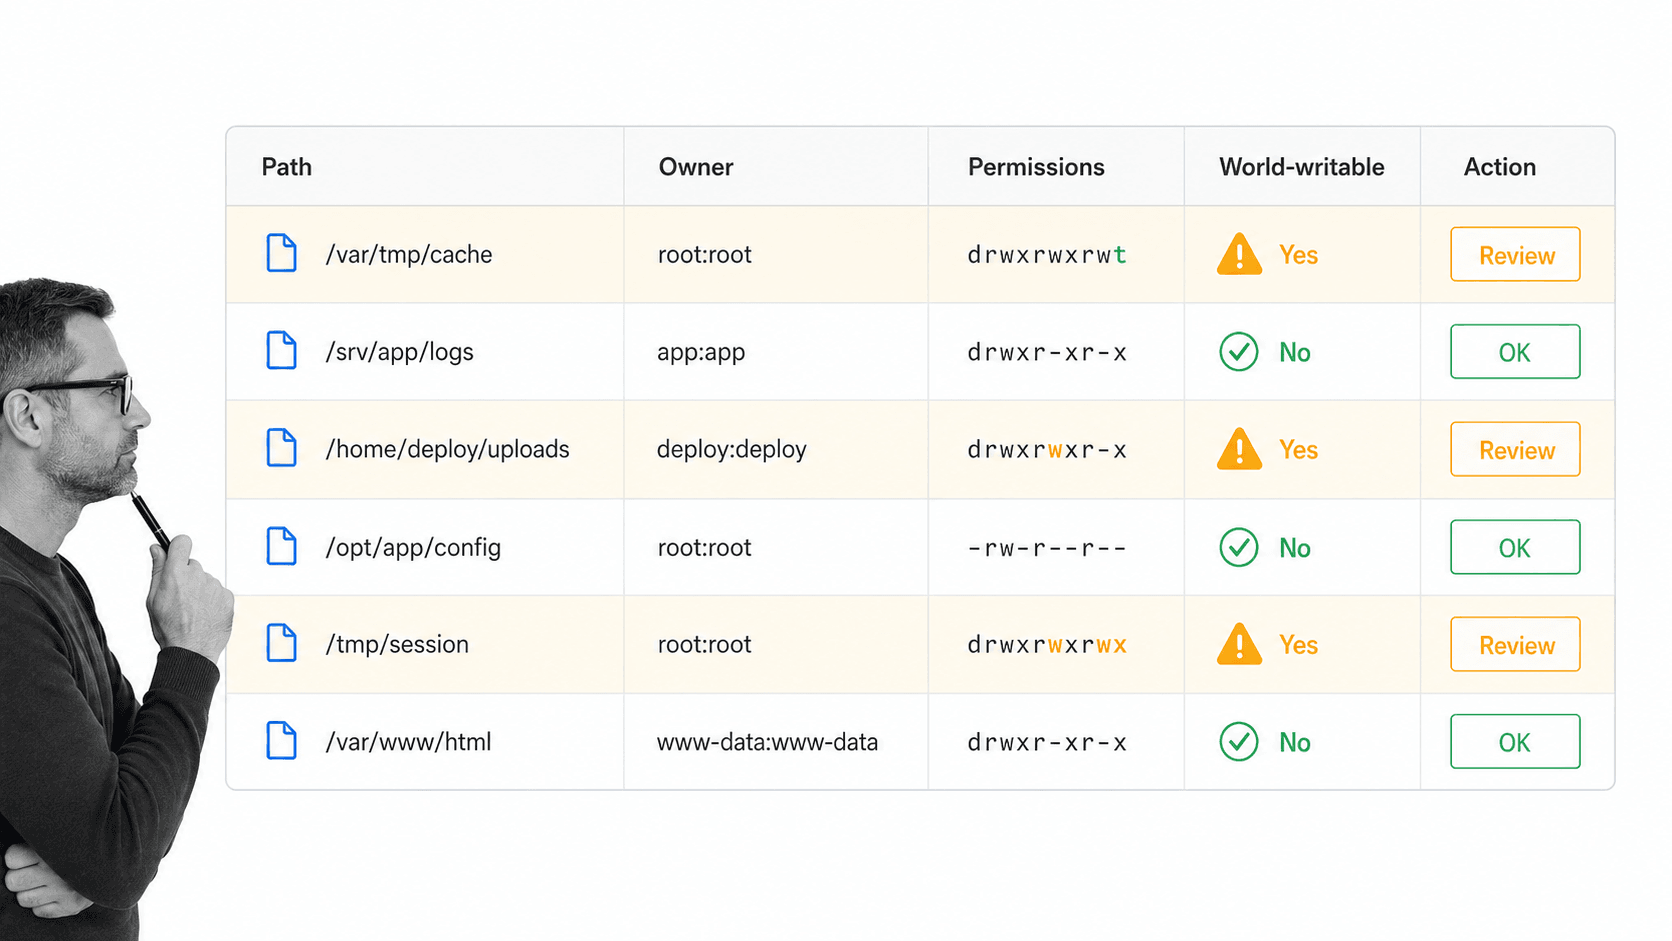
World-writable files are modifiable by any user on the system. If you have files that only root or an admin should be able to access that are world-writable, you’re at risk.
Display a list of world-writable files with:
find /dir -xdev -type d ( -perm -0002 -a ! -perm -1000 ) -print
If anything shouldn’t be accessible to every single user, make sure to go in and modify the permissions.
Configure iptables to block common attacks
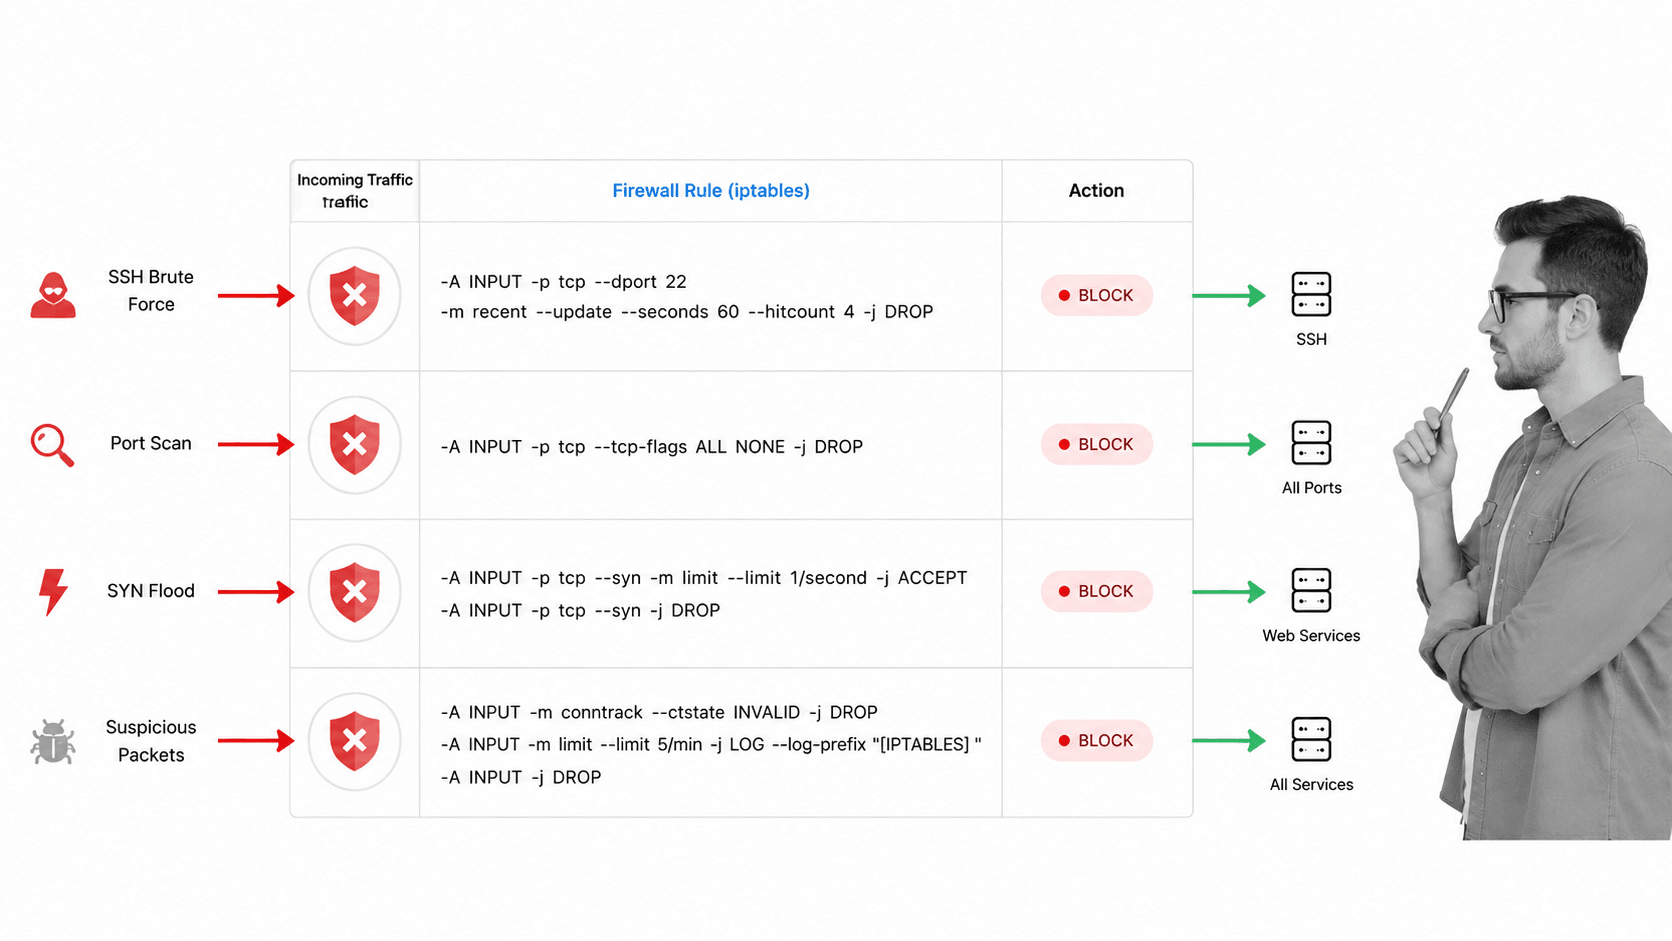
Iptables is as powerful as it is complex. It deserves deeper exploration than it can be given in this article, but here are a few example commands you can use to block common attacks:
- Force SYN packets check:
iptables -A INPUT -p tcp ! --syn -m state --state NEW -j DROP - Drop XMAS packets:
iptables -A INPUT -p tcp --tcp-flags ALL ALL -j DROP - Drop null packets:
iptables -A INPUT -p tcp --tcp-flags ALL NONE -j DROP - Drop incoming packets with fragments:
iptables -A INPUT -f -j DROP
Make sure to read the iptables manual (man iptables) for more information on blocking connections from particular IP addresses or to certain hosts.
Set GRUB boot loader password
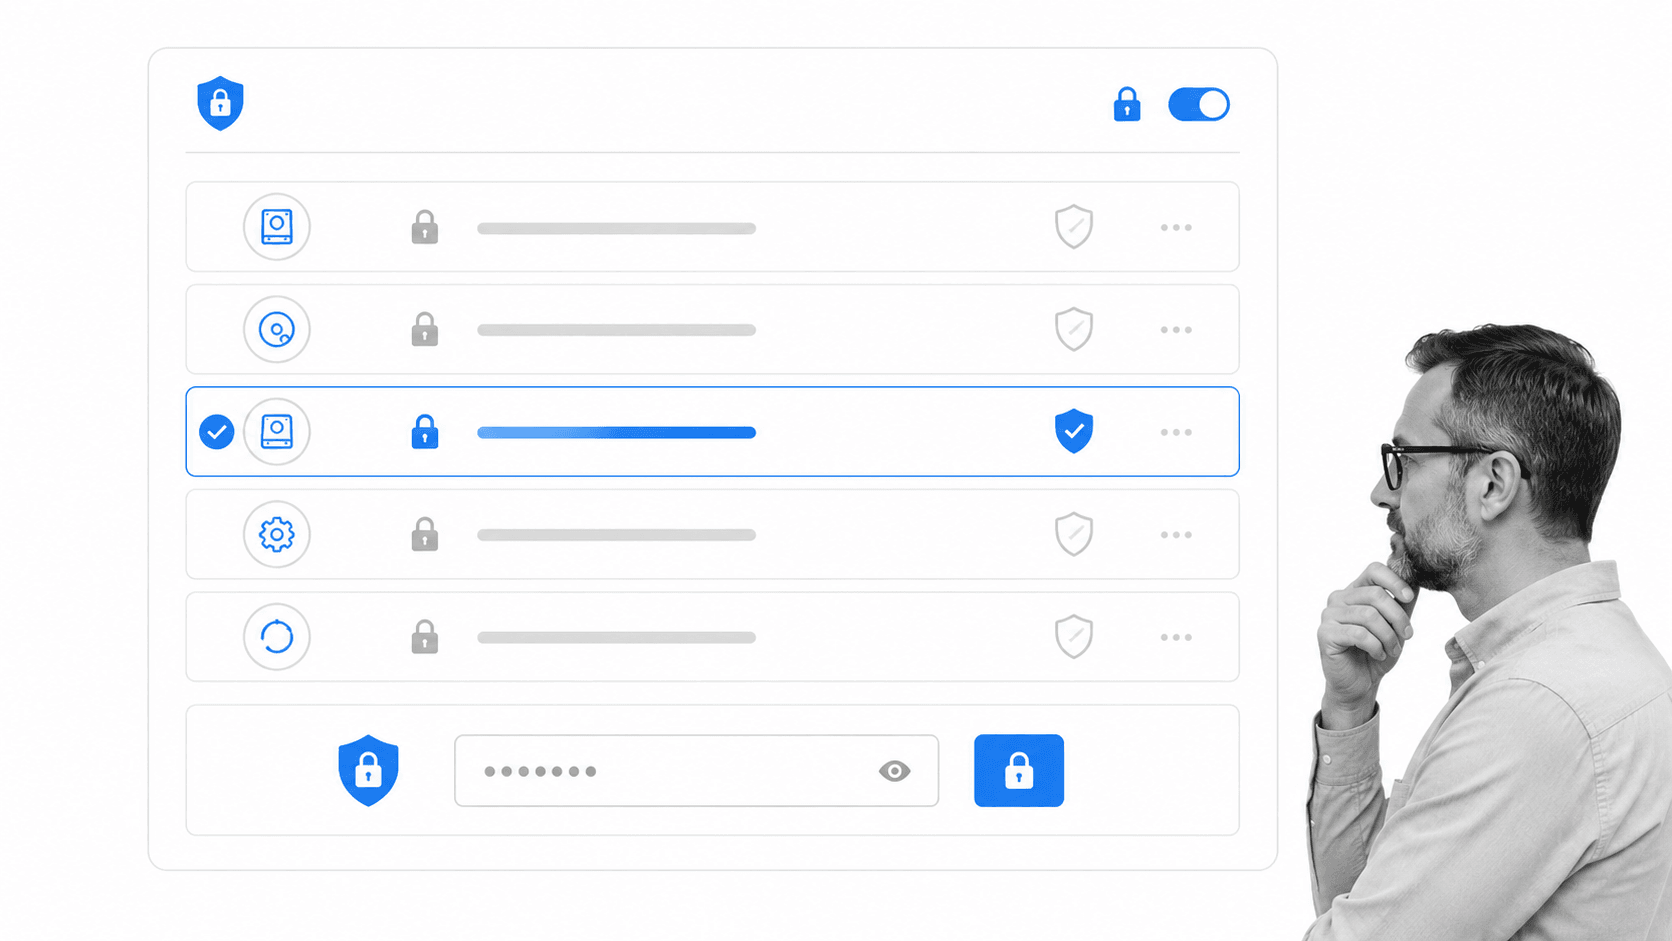
Access to GRUB means access to a bunch of important low-level administrative tasks and operations, so it’s important that it’s protected with a strong password.
Your GRUB configuration file is located at boot/grub/grub.conf. Inside, you’ll see a line that reads password --md5.
Enter /sbin/grub-md5-crypt in another terminal, and then type the password you’re setting for GRUB. This returns a hash for the password, which you can paste onto the password line so it reads password --md5 [hash of the password you just generated].
Disable interactive hotkey startup at boot
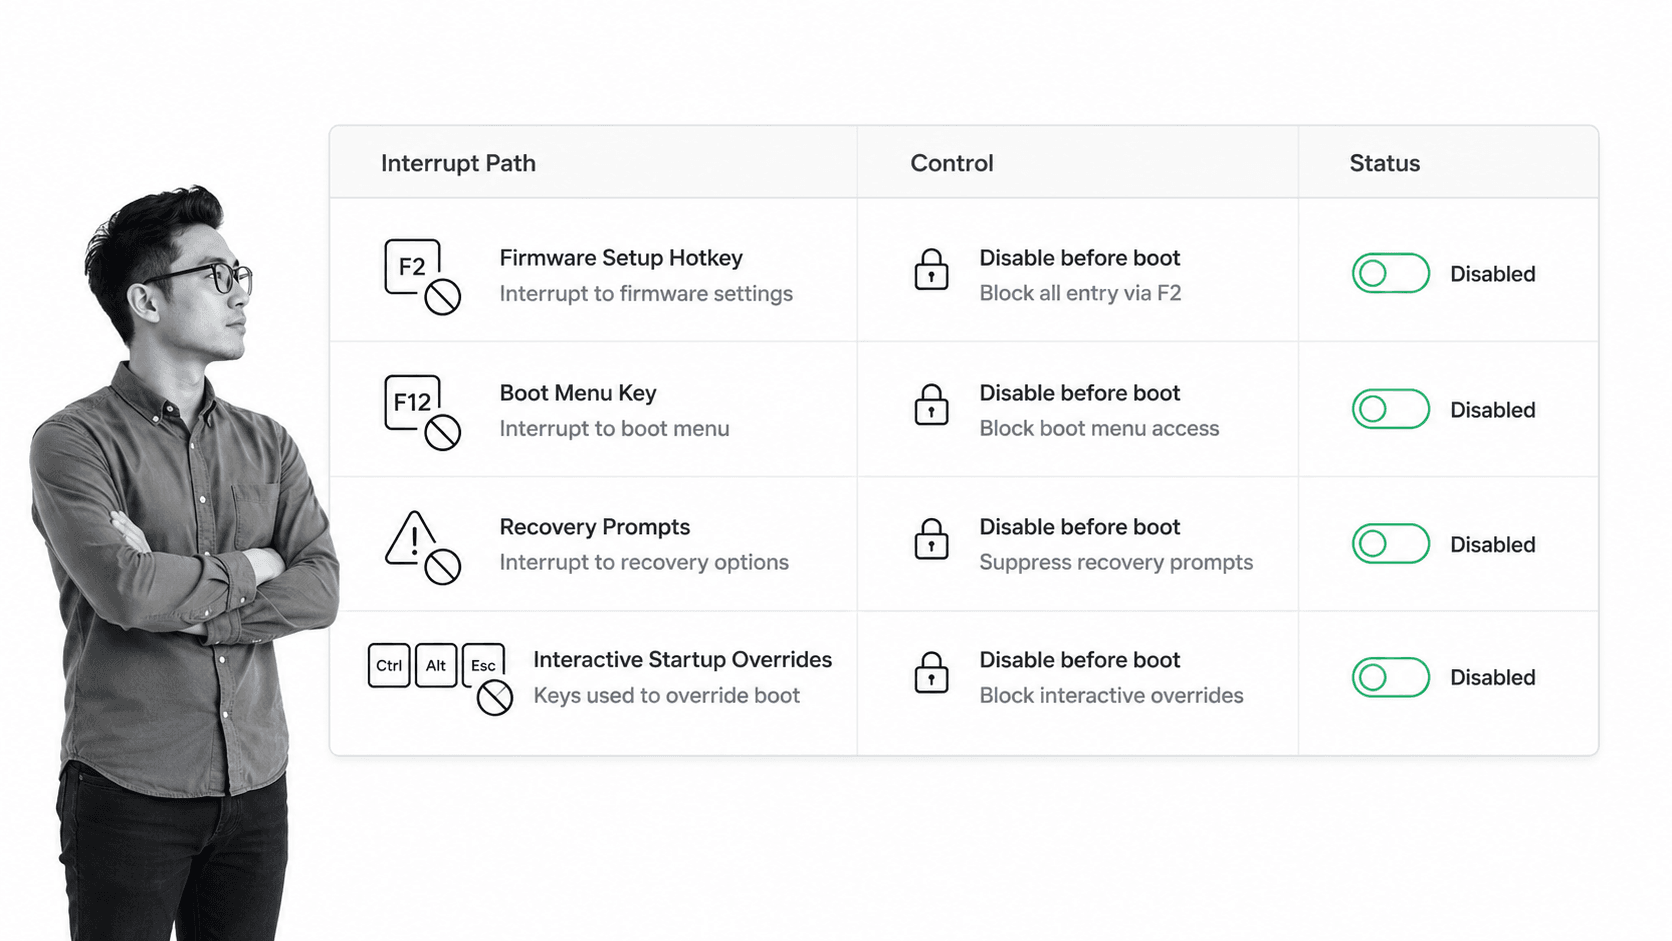
Another way you can secure your server from an attacker with physical access is to disable interactive hotkey startup. With this turned off, you limit the possibility of an attacker disabling system services including firewalls.
The interactive boot settings are set in /etc/sysconfig/init. Simply add this line to the file or edit the variable to match: PROMPT=no
Use Logwatch to monitor suspicious log messages
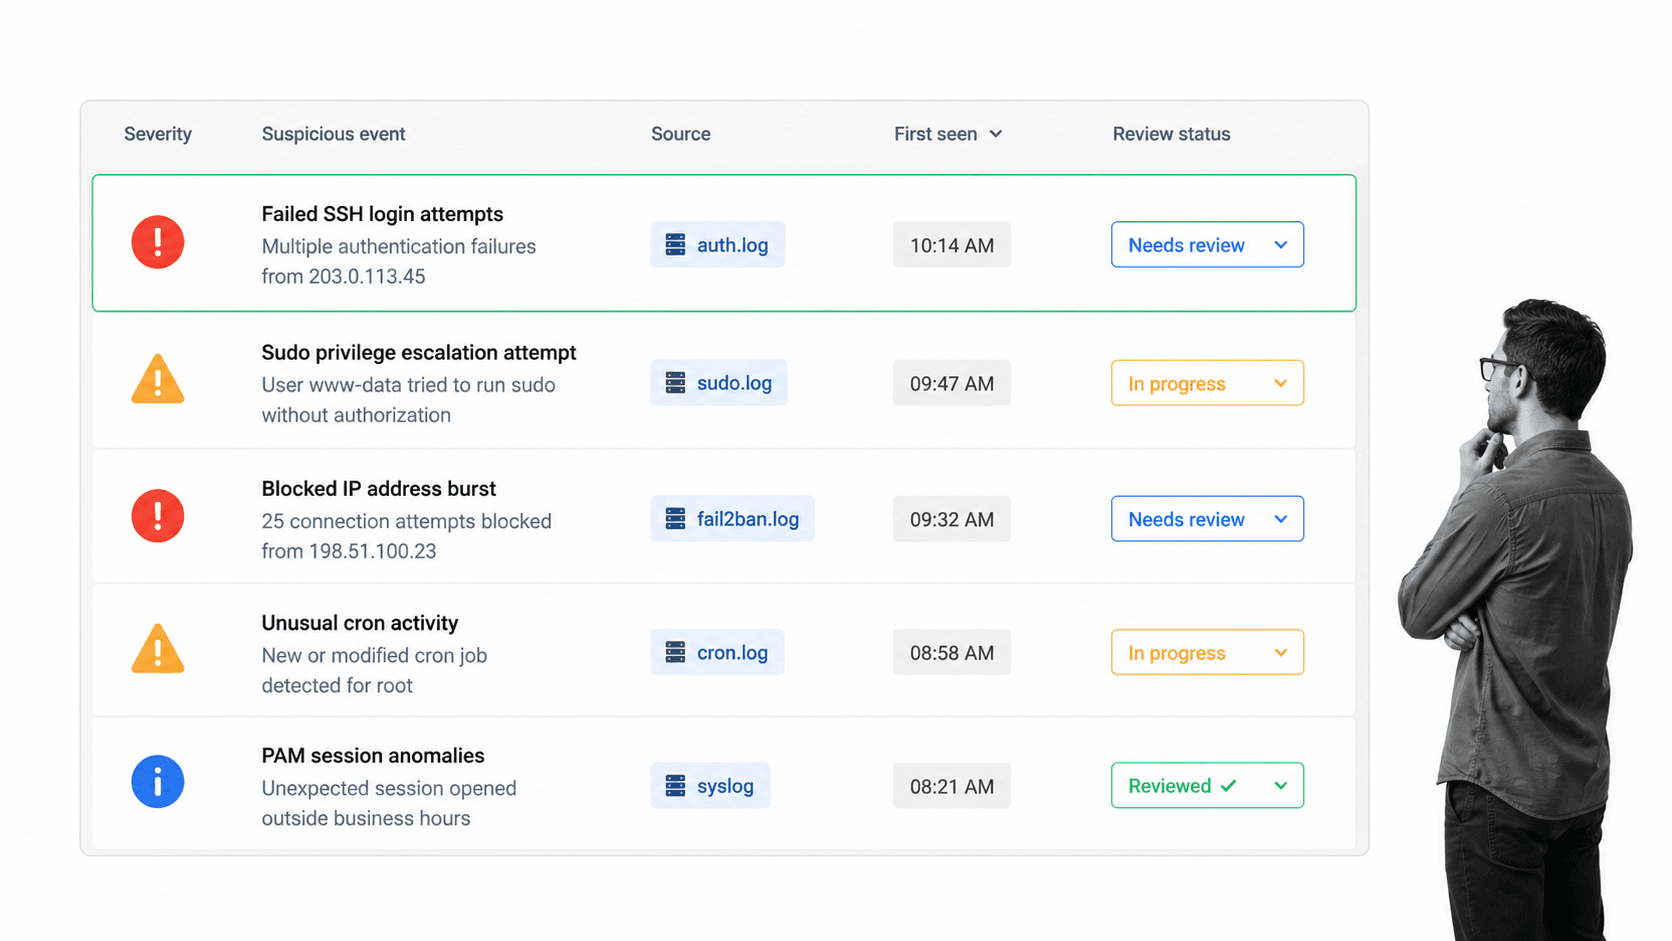
You can get daily log summaries by installing and enabling Logwatch on your server. Logwatch is simple to set up, just set it running, and you’ll automatically get log digests daily of the logs stored in /var/logs in your mail folder.
apt-get install logwatch
Refer to the configuration file you want to change the level of detail, specific services monitored, or log directory.
/usr/share/logwatch/default.conf/logwatch.conf
Enable auditd to check for read/write events
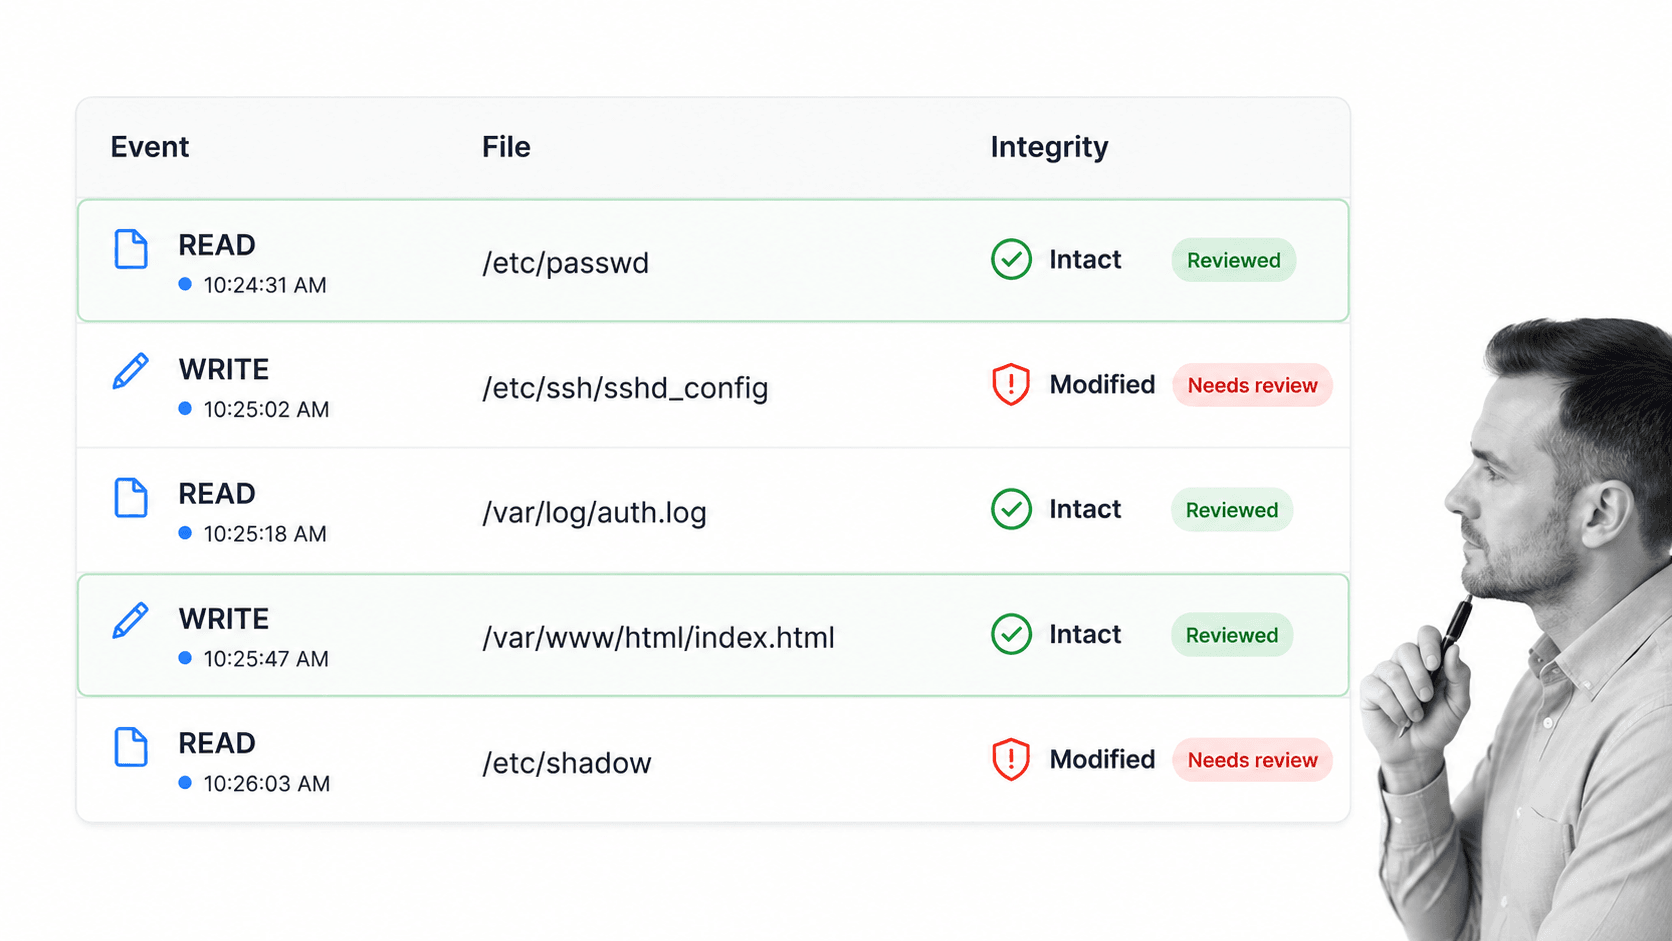
If someone is modifying your passwords file, or using a compromised user account to do that, you want to identify the breach so you can stop it at the source. By watching files with an audit tool, you can easily do that.
First of all, install audit: apt-get install auditd Start the service with /etc/init.d/auditd start. Next, set it to watch important files for changes and keep logs of who modified them and when.
For example, to watch the passwords file, do auditctl -w /etc/passwd -p war -k password-file. For a full breakdown of how this works, see this guide.
Secure any Apache servers
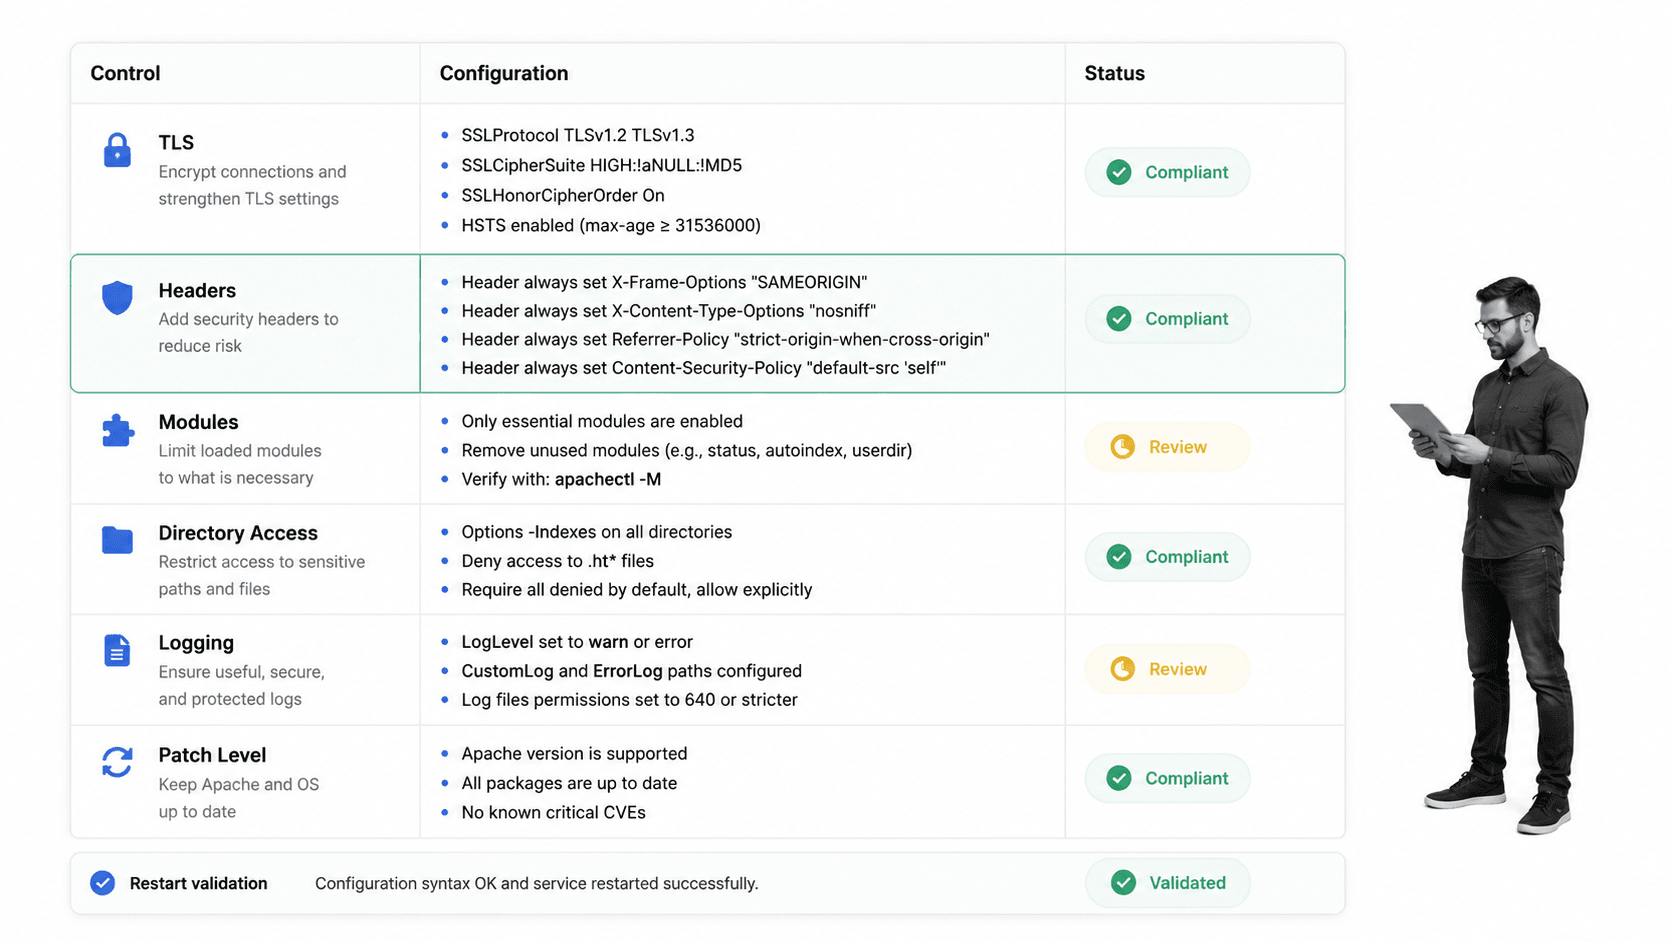
Apache servers make for a wonderfully predictable entry point for attackers, you only have to check the number of Apache vulnerabilities that have surfaced over the years to be wary about the security of yours.
Open your Apache config file, located at /etc/apache2/apache2/conf, and modify the defaults to reflect the following lines:
ServerTokens ProdServerSignature OffHeader always unset X-Powered-By
These three lines above prevent Apache from broadcasting its version number and other identifiable details, which makes it harder for attackers to exploit known vulnerabilities.
TraceEnable Off
Turning off TRACE protects you against known cross-site tracking vulnerabilities.
Install and configure UFW
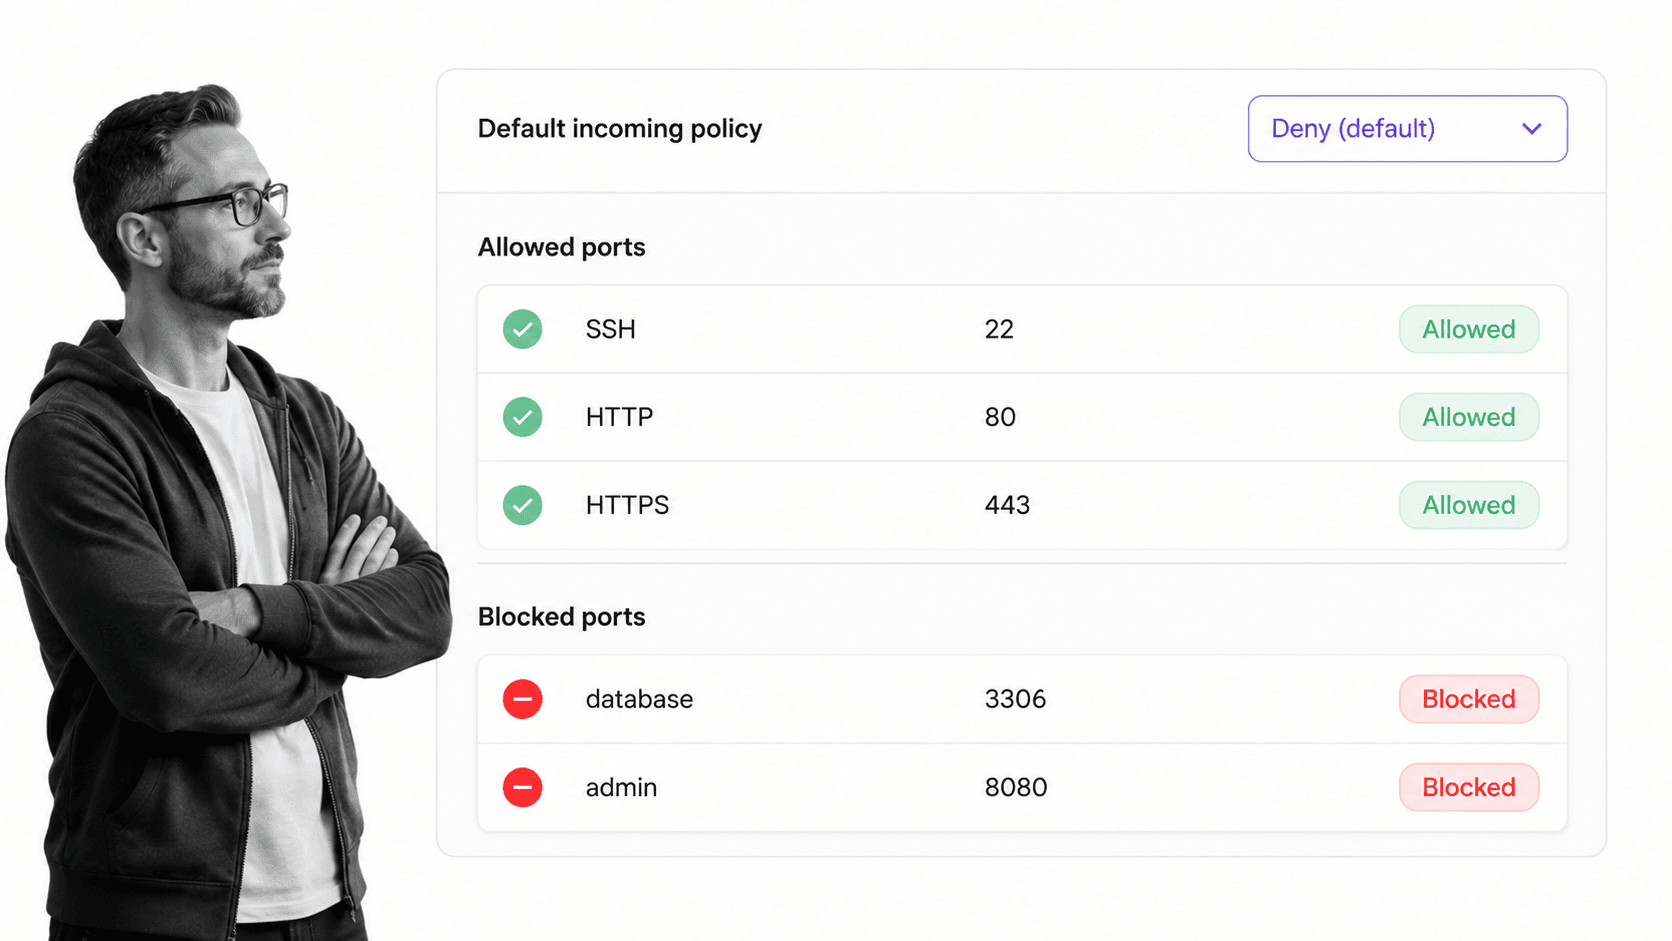
Uncomplicated firewall (UFW) is an interface for iptables that offers an easier way to regulate incoming and outgoing traffic. With a few quick commands, you can block all traffic that isn’t going to your web server, through SSH, through FTP, etc. This drastically reduces your risk while connected to the network, and it isn’t much work.
To get started, install ufw: apt-get install ufw
Now, depending on what you want to allow through (e.g. the purpose of the server), you can selectively allow ports, ranges of ports, or anything else:
ufw allow sshufw allow httpufw allow ftp
Your ideal configuration is dependent on what you’re using the server for. If you’re currently SSH’d into a headless server, be aware that disallowing SSH will drop the connection.
Once you have set the rules you want, check the rules summary with ufw status verbose, and then enable the firewall:
ufw enable
Configure SSH securely
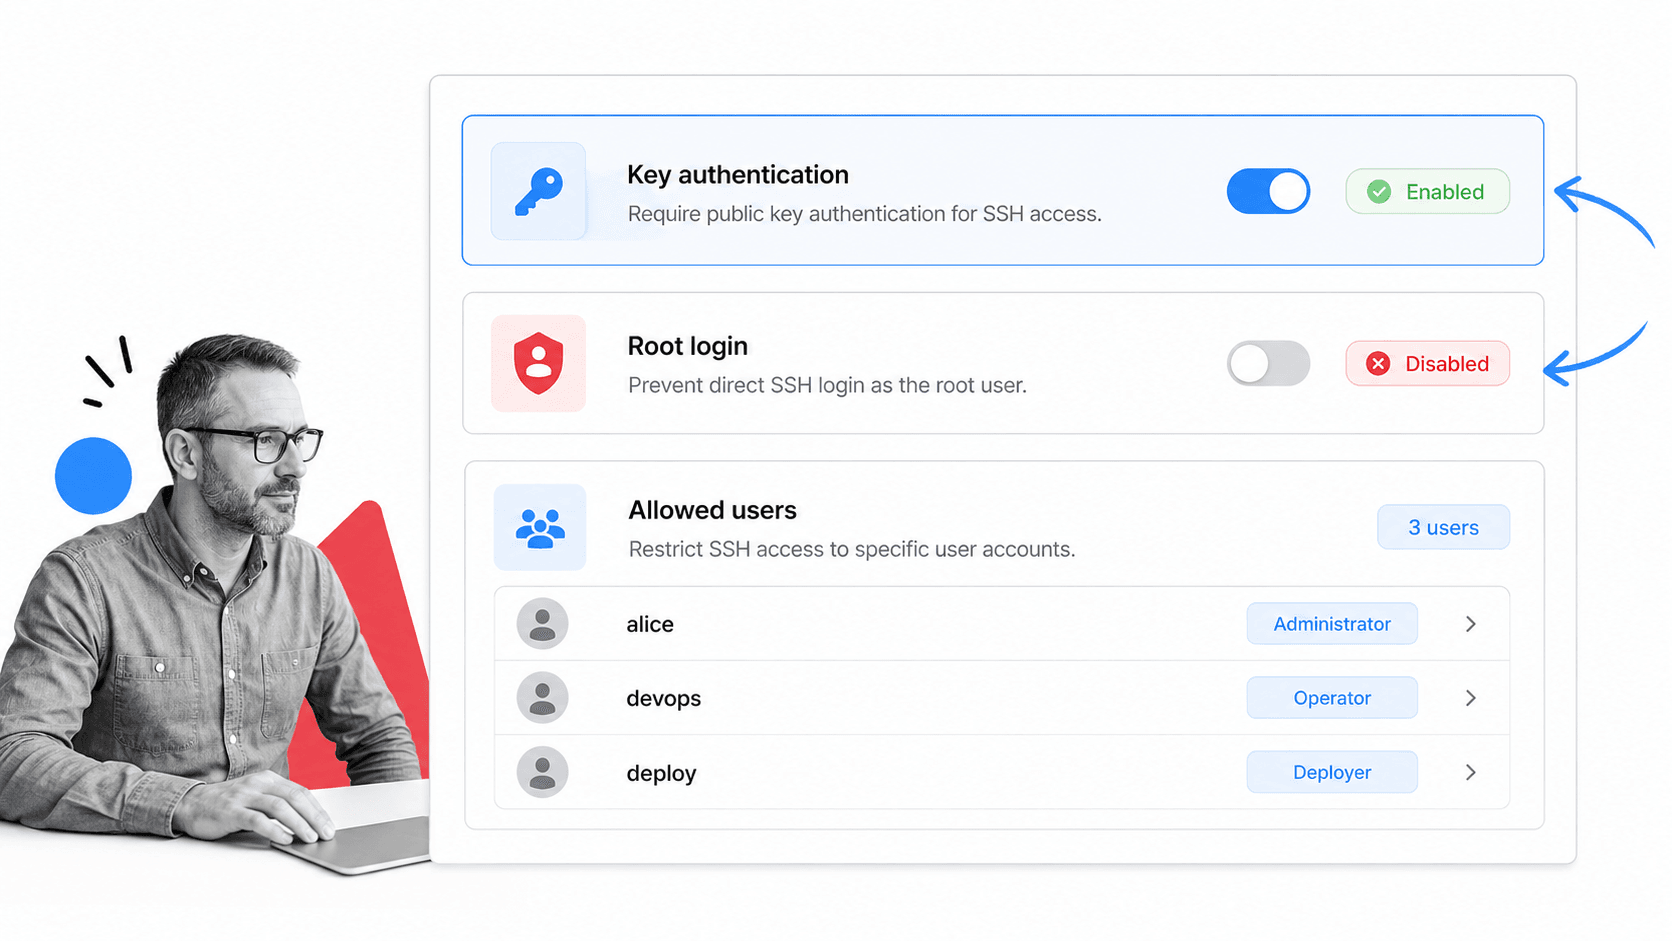
Even though SSH may have been compromised by the U.S. government in some roundabout way, it is still the standard protocol for controlling a server remotely. One of the biggest dangers with SSH, especially for large organizations with thousands of servers, is managing SSH keys. If an attacker gains access to your servers through a misplaced SSH key, you want to be sure that you minimize the damage they can do, or lock them out entirely.
To achieve this, add the restrictions below to your SSH config file, located at /etc/ssh/sshd_config:
PermitRootLogin no# disallows root access via SSHAllowUsers [username]# limits SSH access to the stated usersIgnoreRhosts yes# disallows SSH from trusting a host based only on its IPHostbasedAuthentication no# as abovePermitEmptyPasswords no# prevents users from logging into SSH with an empty password, if set as suchX11Forwarding no# stops the possiblity of the server sending commands back to the clientMaxAuthTries 5# drops the SSH connection after 5 failed authorization attemptsCiphers aes128-ctr,aes192-ctr,aes256-ctr# disable weak ciphersUsePAM yes# disables password authentication and defers authorization to the key-based PAMClientAliveInterval 900# logs out idle users after 15 minutesClientAliveCountMax 0# how many times the server checks whether the session is active before dropping
Disable telnet
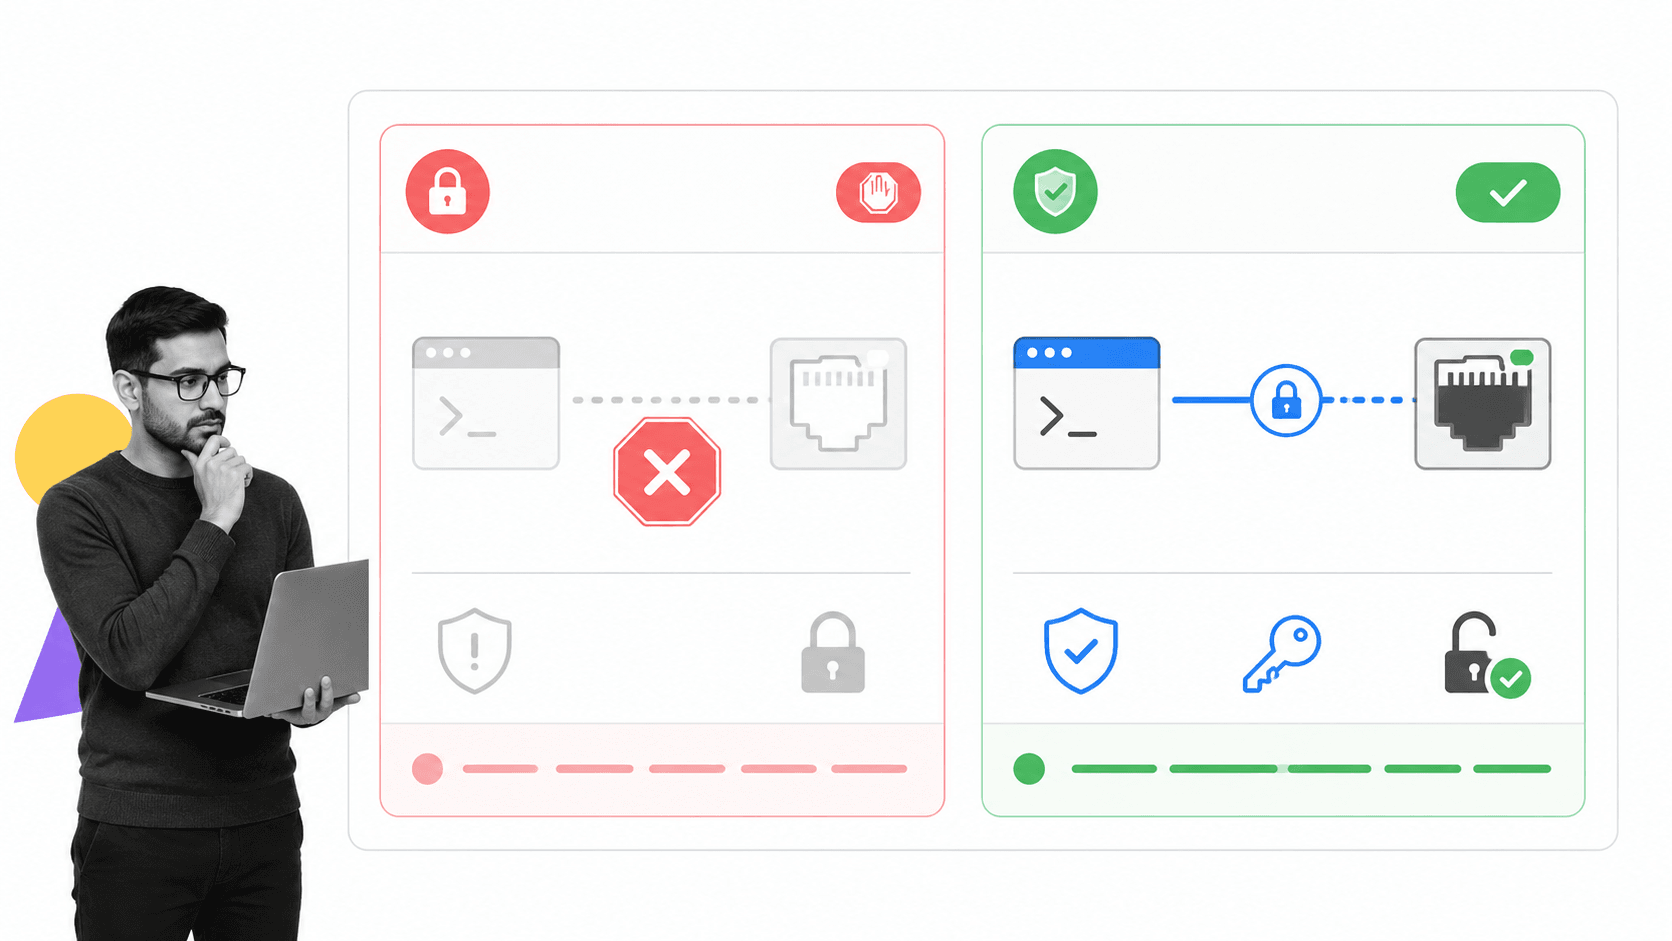
Developed in the 1960s, when encrypted communication wasn’t seen as necessary, Telnet has been superceded by SSH and almost universally retired. Using Telnet on your server, or even having the utility installed, adds unecessary risk. You may as well remove it, if it’s installed:
apt-get remove telnet
Configure sysctl securely
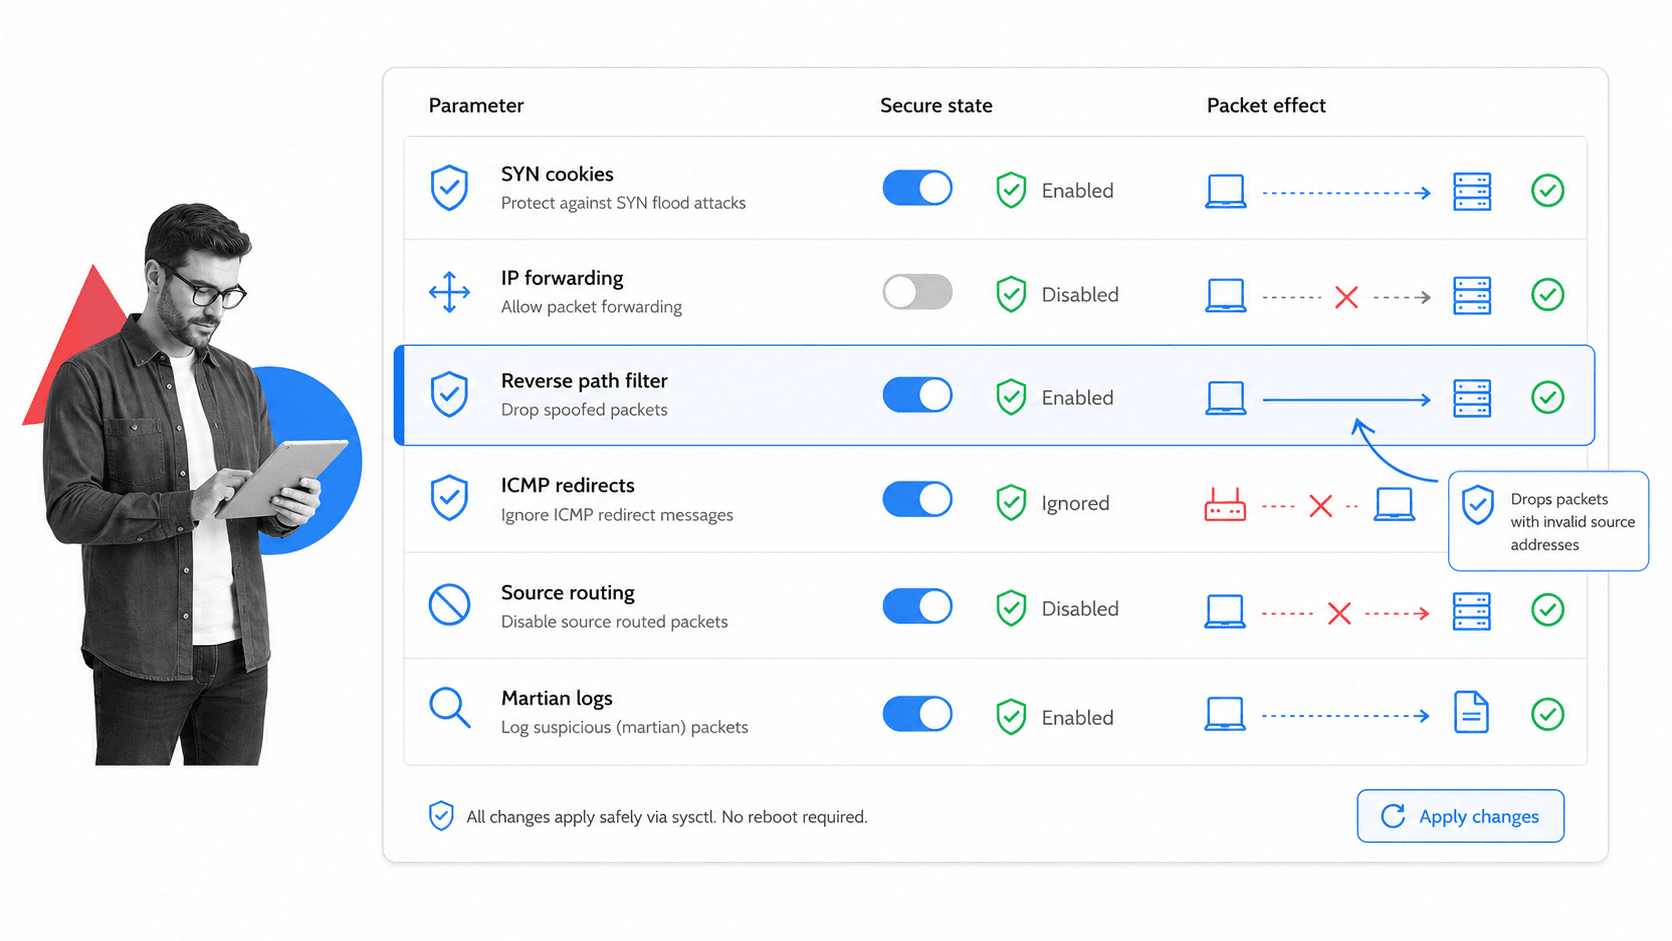
Your default sysctl settings may leave you open to syn flood attacks and IP spoofing, or may not log suspicious packages.
To harden your sysctl settings, open /etc/sysctl.conf in a text editor, and do the following:
- Disable IP Forwarding by setting the
net.ipv4.ip_forwardparameter to0 - Disable the Send Packet Redirects by setting the
net.ipv4.conf.all.send_redirectsandnet.ipv4.conf.default.send_redirectsparameters to0 - Disable ICMP Redirect Acceptance by setting the
net.ipv4.conf.all.accept_redirectsandnet.ipv4.conf.default.accept_redirectsparameters to0 - Enable Bad Error Message Protection by setting the
net.ipv4.icmp_ignore_bogus_error_responsesparameter to1
Lock user accounts after failed attempts with Fail2Ban
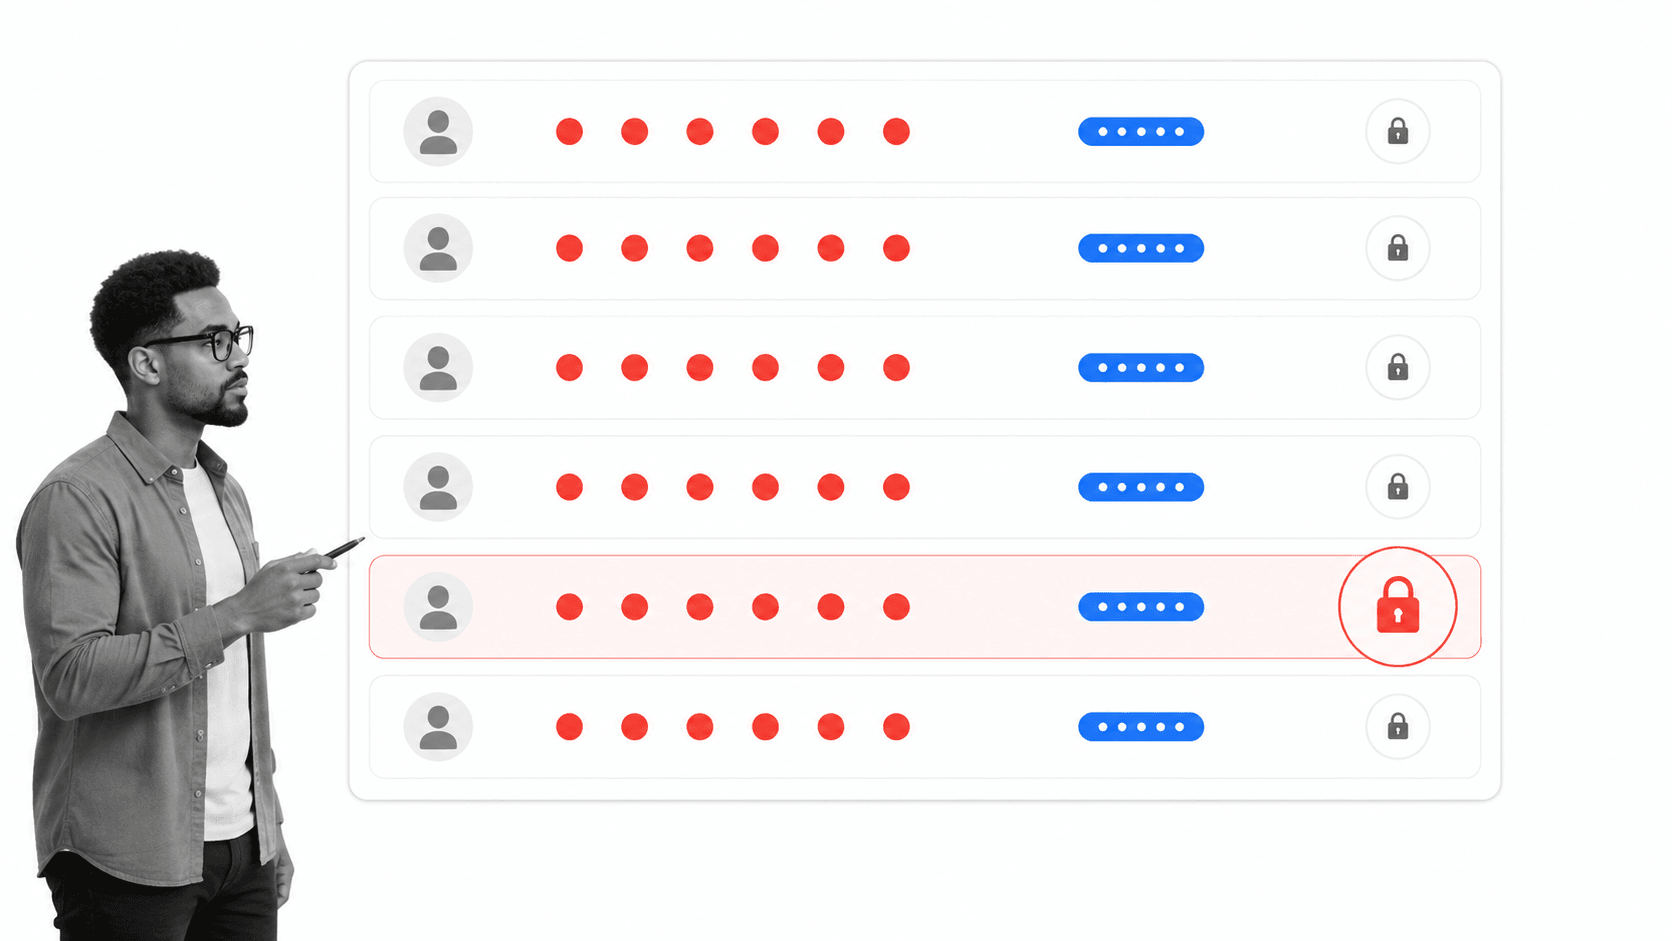
Fail2Ban helps you bypass the PAM configuration file and easily modify global rules for user lockouts. Using Fail2Ban is a simple matter of installing it, enabling it, and then editing the configuration file to specific how many attempts a user can make before being locked out, and how long they should be locked out for. This helps prevent brute-force password cracking attempts.
Install Fail2Ban: apt-get install fail2ban
Enable it: systemctl start fail2ban && systemctl enable fail2ban
Edit the config file: nano /etc/fail2ban/jail.local
Below is an excerpt of the jail.local config file where you can set the maximum number of login attempts before lockout:
# "bantime" is the number of seconds that a host is banned.
bantime  = 600

# A host is banned if it has generated "maxretry" during the last "findtime"
# seconds.
findtime = 600
maxretry = 3
Configure root user timeout
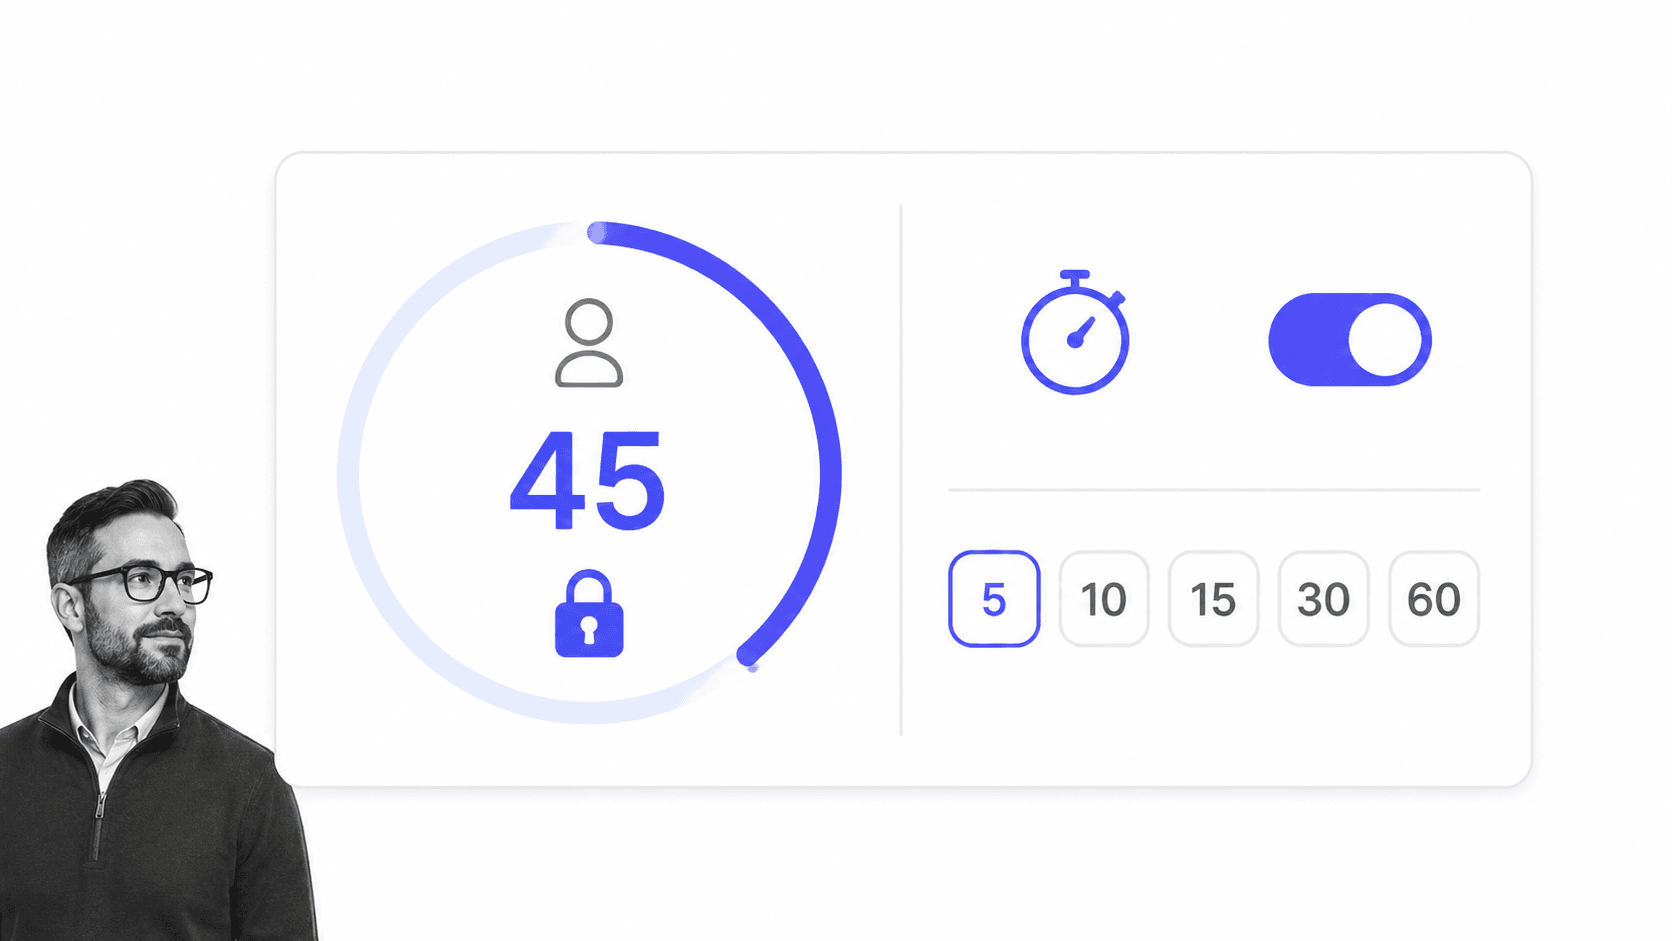
It doesn’t matter how draconian your password policy or SSH config is, if someone wanders into your building and you’ve got a root terminal session running unattended, nothing else matters.
You can set a short timeout for root sessions by editing your /etc/profiles file to include the line [ $UID -eq 0 ] && TMOUT=600. The $UID -eq 0 part refers to the user with the ID of 0, always root. The TMOUT=600 part sets the timeout limit to 10 minutes (600 seconds).
Check for hidden open ports with netstat
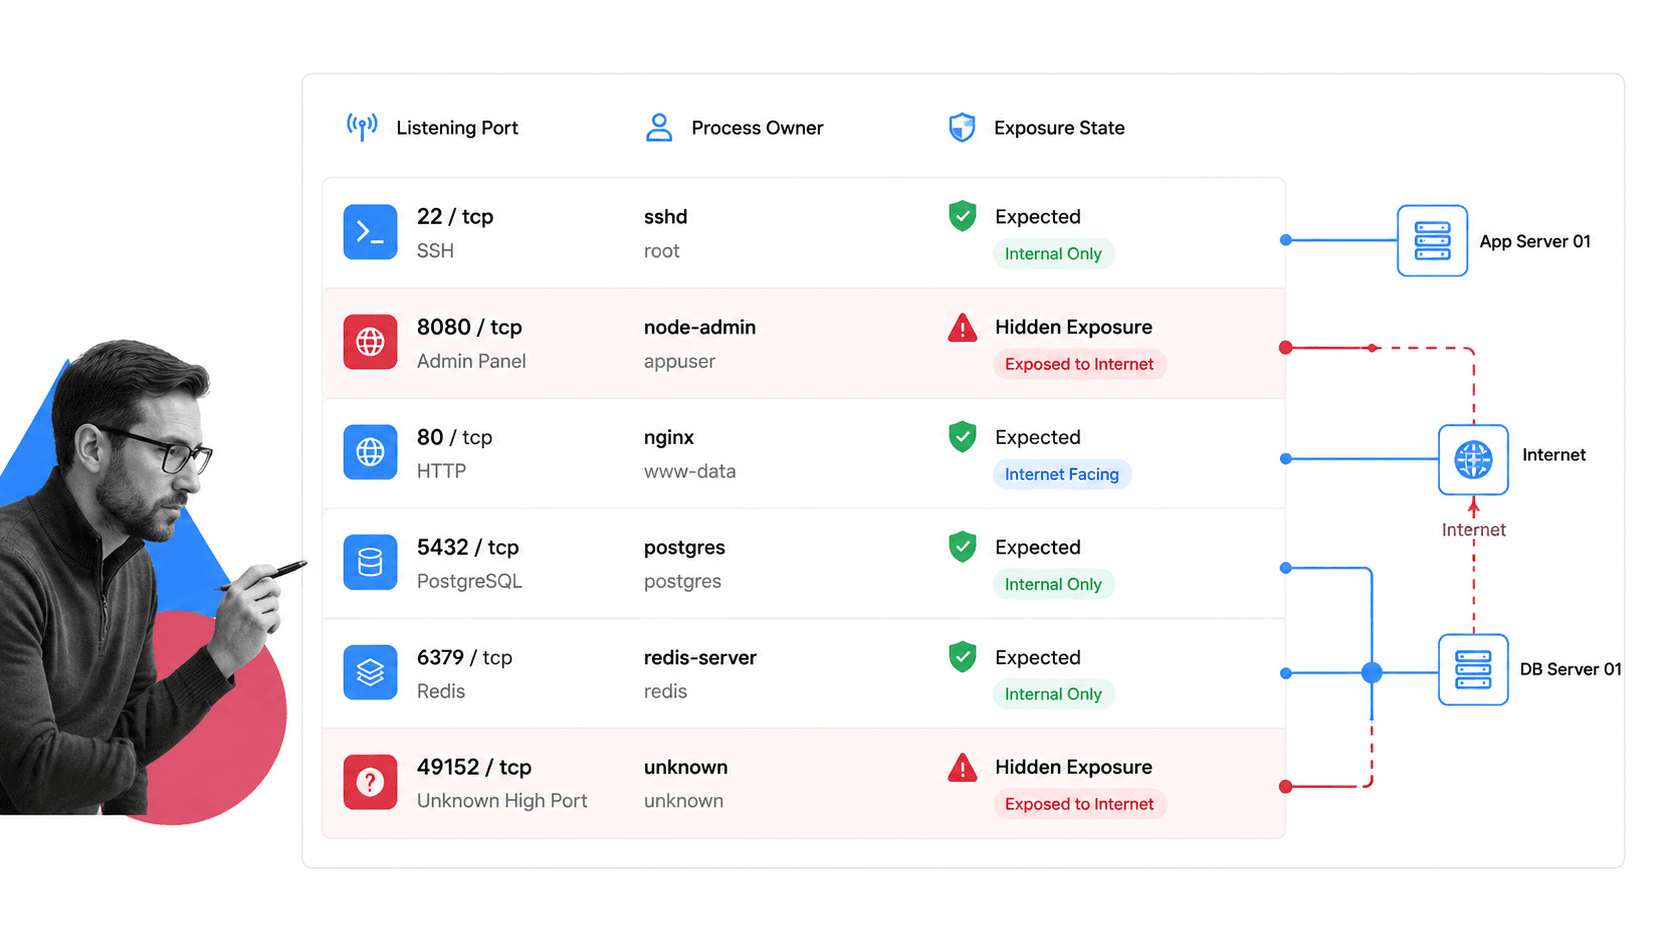
Open ports can reveal information about system or network architecture, and increase your attack surface. If you don’t need a port, close it. If you see an open port you don’t recognize, use netstat to investigate.
Use netstat -antp to check for hidden open ports.
Set root permissions for core system files
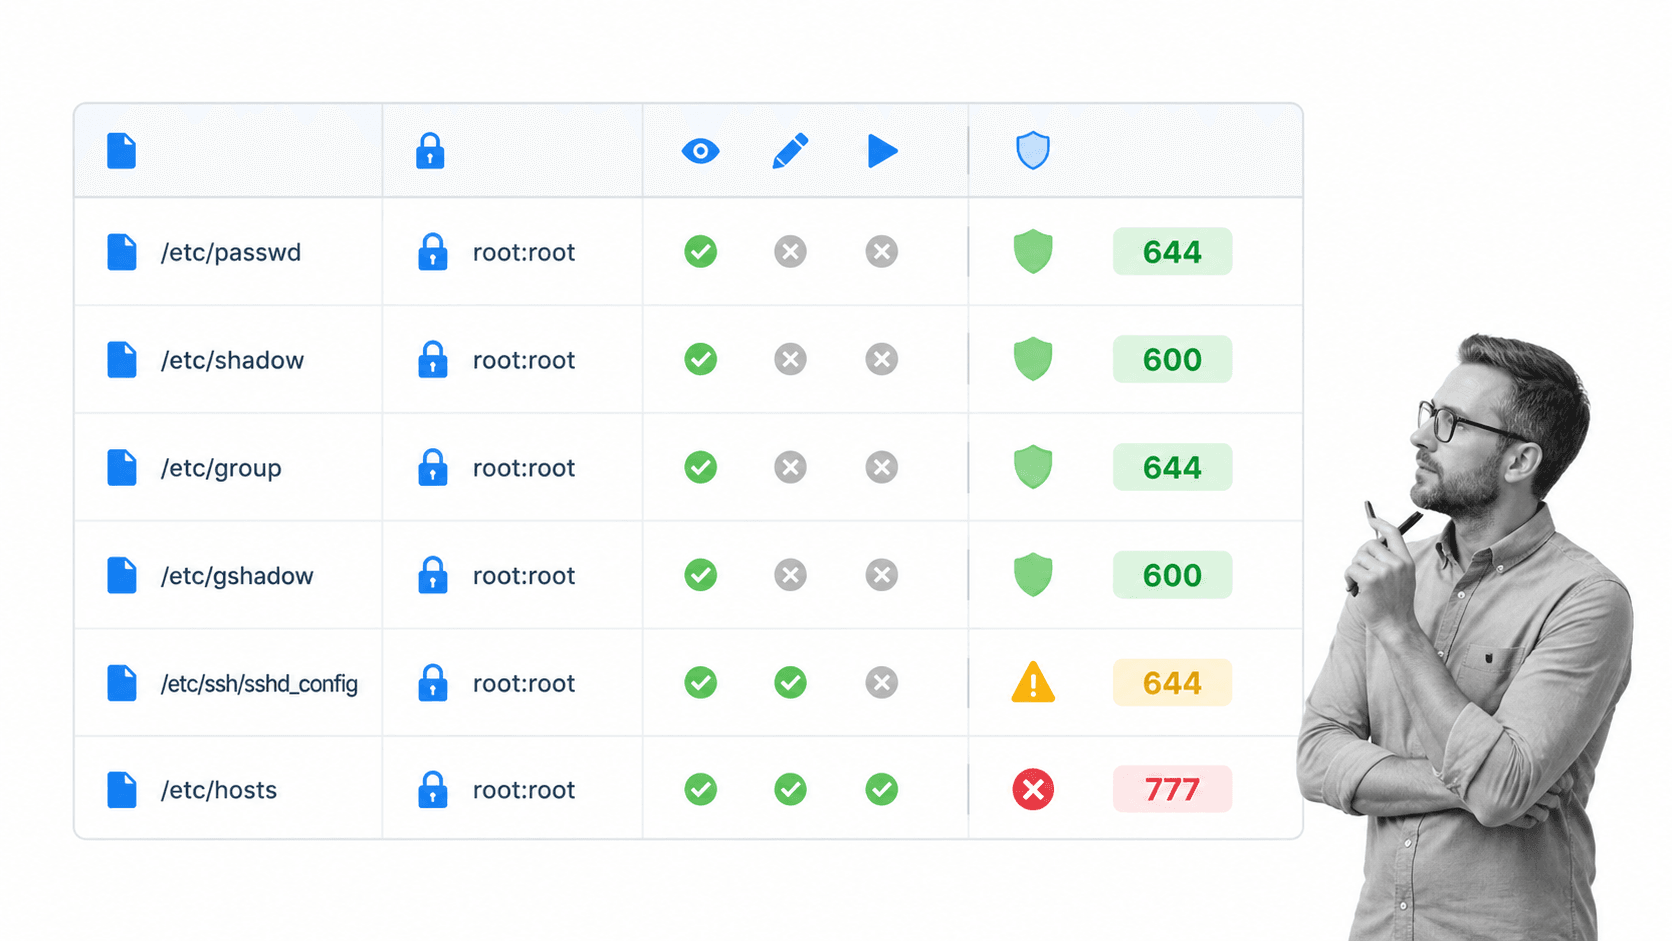
There are some core files that should only be usable by a root user. Otherwise, an unauthorized user could read passwords, or set up recurring commands using cron.
Set user/group permissions to:
#chown root:root
#chmod og-rwx
on the following files:
- anacrontab
- crontab
- cron.hourly
- cron.daily
- cron.weekly
- cron.monthly
- cron.d
- passed
- group
- shadow
- gshadow
Scan for rootkits
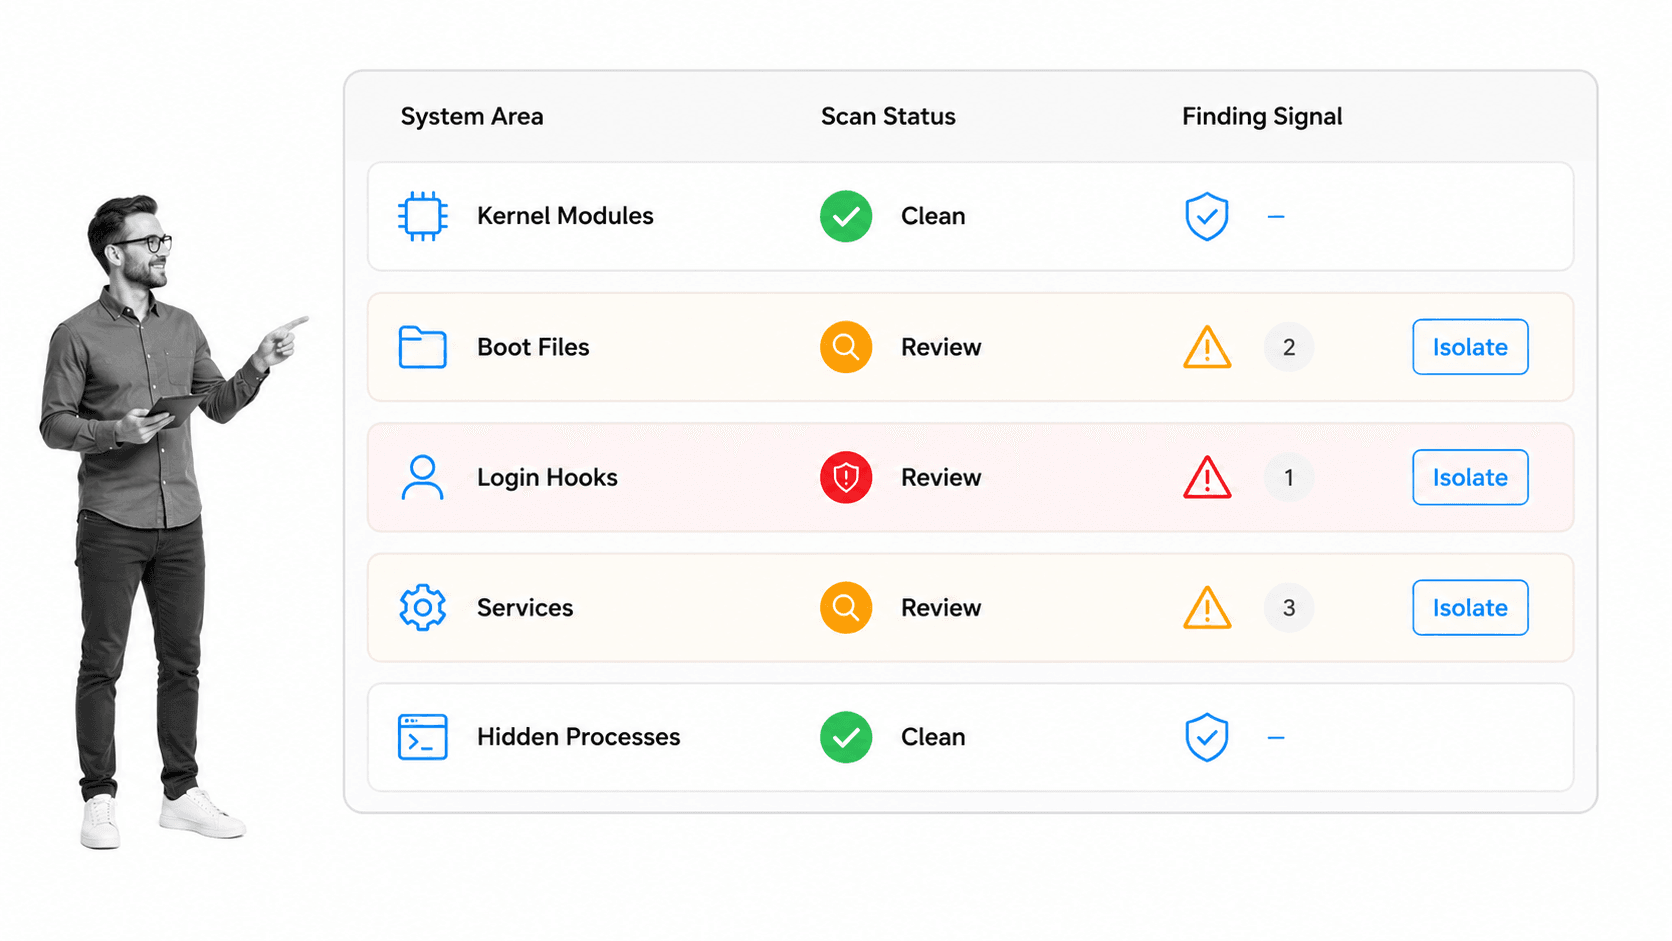
A rootkit lurking on your server could be intercepting login details, concealing malware, providing a backdoor for an attacker, or even remotely controlling your server as part of a botnet. Rootkits are designed to be difficult to find, which is why you need a specialized tool for the job.
To do this, first install chkrootkit: apt-get install chkrootkit
Next, simply type in chkrootkit as a root user. The tool will scan every part of your server and return details of anything suspicious.
See also this rootkit investigation procedure checklist.
In the long run…
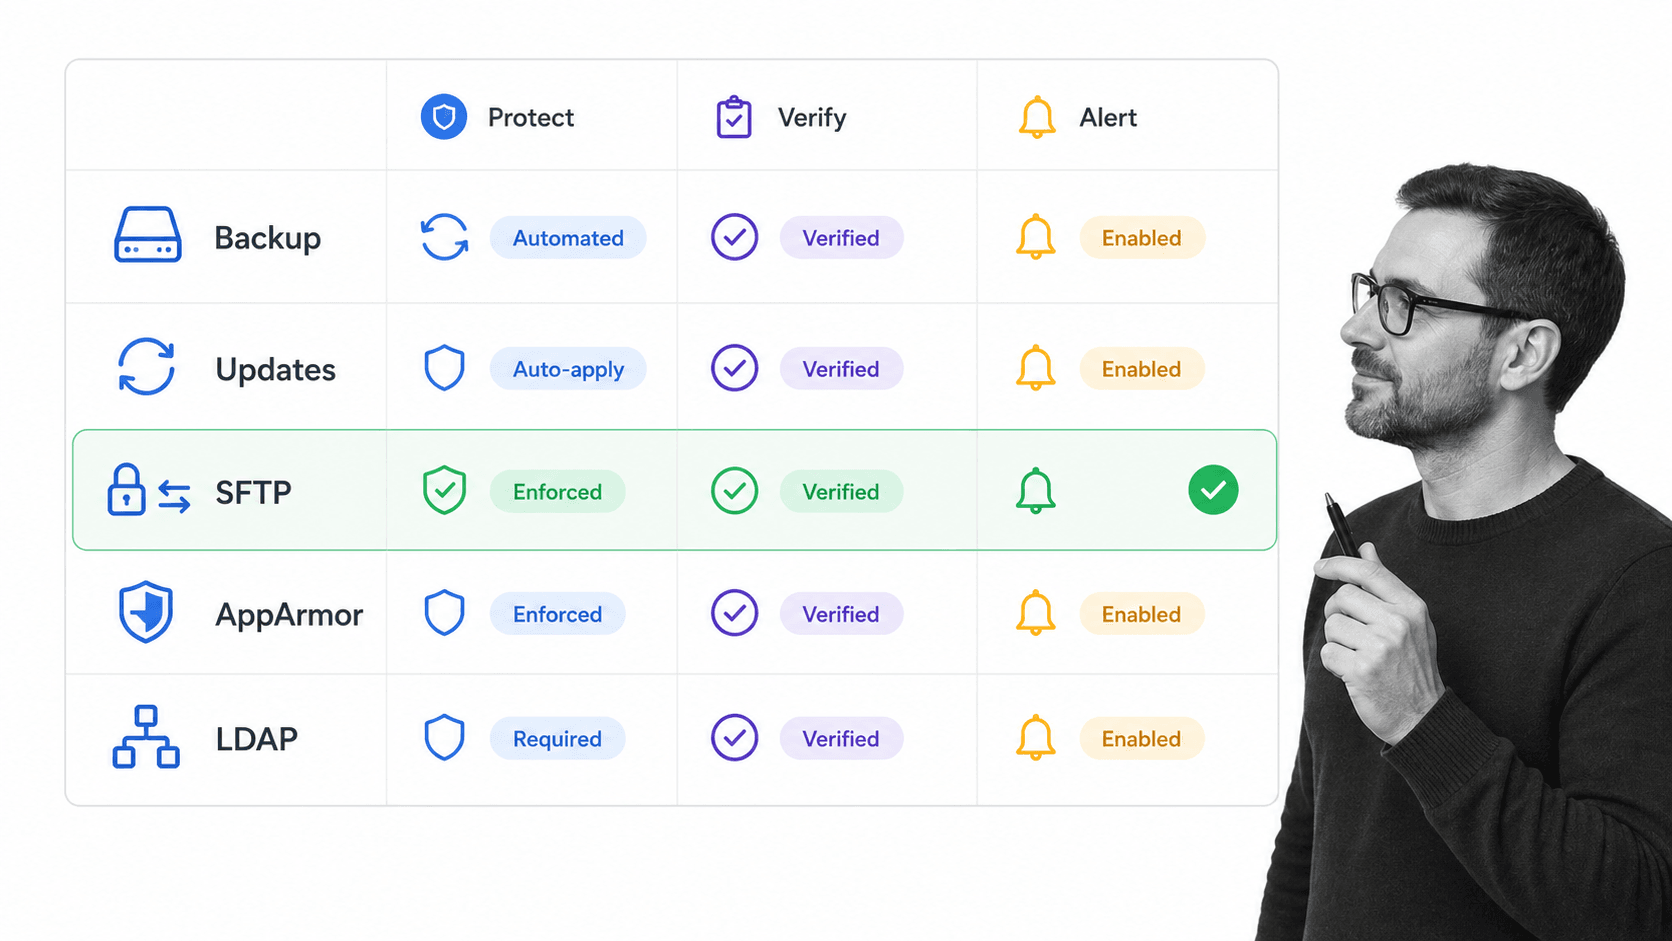
So far, this has been a list of checklist items you can use when auditing and hardening an existing server. As well as these one-time checks, you’ll want to future-proof your server by following best practices. If your controls support customer or vendor assurance, connect this baseline to your SOC 2 audit preparation evidence so hardening work is visible when audit season arrives.
For example…
- Configure snapshot incremental backups with rsnapshot
- Use apt to get the latest security updates
- Regularly check the security announcements for your server’s OS
- Disable FTP, use only SFTP
- Install Lynis, which audits and reports on your current hardening
- Install AppArmor, which confines applications to a limited set of resources and isolates any potential attack damage
- Move to OpenLDAP for centralized authentication
Set your server up the right way
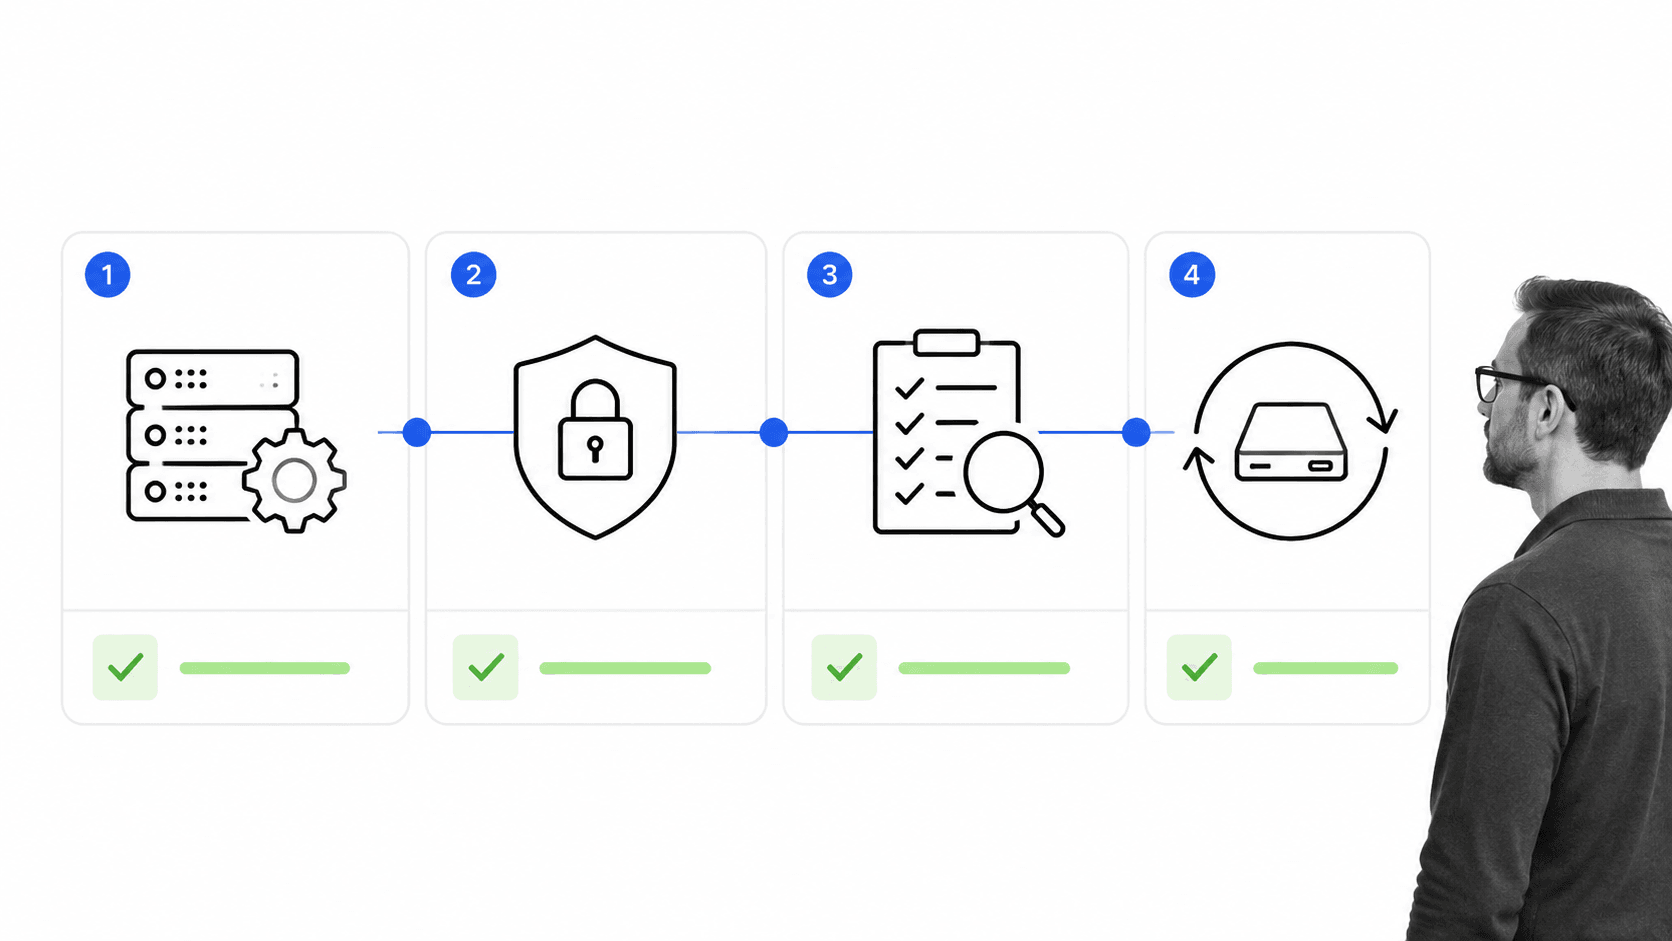
The best time to harden a server is as you’re setting it up. That way, you don’t have to retroactively check for any existing vulnerabilities because you’re working with a fresh install. By following a checklist, you can be sure you’re not missing anything important. You can also edit the checklists below to include steps that are specific to your organization or level of required security.
Add the checklists below to your Process Street account, and use them next time you set up a server.
Server security checklist
Ubuntu server setup checklist
Linux Apache server setup checklist
And make sure to check out the following checklist packs for more free documented IT procedures:
- 6 Server Setup Checklists for Sysadmins (Apache, Ubuntu, Proxy, FTP, and More)
- 8 IT Security Processes to Protect and Manage Company Data
- 7 Documented Processes for IT, MSPs and System Administrators
- Web Maintenance: A Process-Driven Guide with 4 Handy Checklists
- 12 IT Processes to Solve Your Computer Woes
The post 34 Linux Server Security Tips & Checklists for Sysadmins first appeared on Process Street | Compliance Operations Platform.


0 Commentaires